I start by sculpting a master with Super Sculpey Firm polymer clay, using a 0.5 mm wire armature and a 2 mm spatula to keep layers thin and air‑free, then I bake it at 275 °F for 30 minutes; I build a two‑part silicone mold with a 1:1 weight mix of base and catalyst, curing 45 minutes at 70 °F to Shore A 30, and I add vent channels and a silicone release before the second pour; for production I choose either a 405 nm UV 3D printer (5 W laser, 0.3 mm nozzle) for fine detail or a multi‑shot resin cast using a 12 V × 2 A pressure pot for 10 minutes, followed by a 365 nm, 3 W UV lamp connected via a 2 m USB‑C cable for a 30‑minute post‑cure; after curing I sand wet from 600 to 2000 grit, polish with 0.5 µm compound on a 3 mm felt wheel at 5 000 rpm, airbrush a thin primer through a 2 mm nozzle at 30 psi, and finally test the cap on Cherry MX stems (≈1.5 mm) for fit and durability, and the next steps will show you how to perfect each stage.
Key Takeaways
- Sculpt the master using polymer clay layered thinly over a metal wire armature, maintaining precise dimensions (±0.1 mm) and pre‑drying at 200 °F to harden the surface.
- Create a two‑part silicone mold by pouring the first half, adding venting channels, applying release agent, then pouring the second half and curing each for ~30 min.
- Choose between UV 3D printing (50 µm resolution, 405 nm laser) and multi‑shot resin casting (pressure pot, color layering) for reproducing the keycap design.
- Degas resin under –0.8 bar, then pressure‑cure at 12 V × 2 A for 10 min, followed by 30 min UV post‑cure at 365 nm and thermal cycling to relieve stress.
- Finish with progressive wet sanding, polishing, airbrushed primer, and functional testing for stem clearance and durability cycles at., N.
Get the Basics Right for Your First Artisan Sculpt
Start by choosing a polymer clay like Super Sculpey Firm, which cures at 275 °F (135 °C) for 30 minutes in a standard kitchen oven and stays soft enough to sculpt without marring the surface, because the clay’s staged curing lets you adjust fine details before the final hardening. I always begin with a clay armature, a metal wire skeleton that supports the sculpt and prevents sagging, and I verify scale tolerances, the exact dimensions that must match a standard Cherry MX stem (≈1.5 mm) and keycap height (≈7 mm). The armature is bent to the desired shape, then the clay is applied in thin layers, each pressed with a 2 mm spatula to avoid air pockets. After shaping, I check that the overall diameter stays within ±0.1 mm of the target, because even a tiny deviation can cause switch mis‑fit. Finally, I pre‑dry the piece at 200 °F for 15 minutes to harden the surface just enough to handle the next detail work without distortion.
Build a Two‑Part Silicone Mold for Artisan Keycaps
Mixing the silicone correctly is crucial, because a 1 : 1 weight ratio of silicone base to catalyst (by mass) yields a cure time of 45 minutes at 70 °F (21 °C) and a final hardness of Shore A 30, which balances flexibility for demolding with durability for repeated casts. I first attach the master keycap to a flat plate, then pour the mixed silicone into a shallow tray, ensuring the venting channels—tiny grooves that let trapped air escape—are positioned beneath the sculpt’s deepest valleys. After the first half cures (≈30 minutes), I apply a thin coat of release agents—spray or brush‑on silicone‑based fluid—to prevent the second silicone layer from sticking. I then flip the assembly, pour the second half, and cure another 30 minutes. Once fully set, I separate the halves, clean excess silicone, and test the mold’s integrity before casting.
Select UV 3D Printing vs. Multi‑Shot Resin Casting for Color Control
After the silicone mold is ready, I compare UV 3D printing and multi‑shot resin casting to decide which method gives me the tightest color control for artisan keycaps. UV 3D printing uses a 405 nm laser diode (5 W) that cures resin layer by layer, delivering a print resolution of 50 µm, which allows fine color layering but requires a 0.5 m USB‑C cable for power and data. Multi‑shot resin casting fills the same mold sequentially with separate resin colors, using a 12 V, 2 A pressure pot for 10 minutes, which eliminates the need for high‑resolution printing but relies on precise color layering by hand. The printer’s 0.3 mm nozzle size limits detail, while the casting method can achieve sharper gradations if the mold is flawless. Both methods need a 30‑minute UV post‑cure at 365 nm, 3 W, but the printer’s built‑in fan (80 mm³) reduces overheating compared to the casting setup.
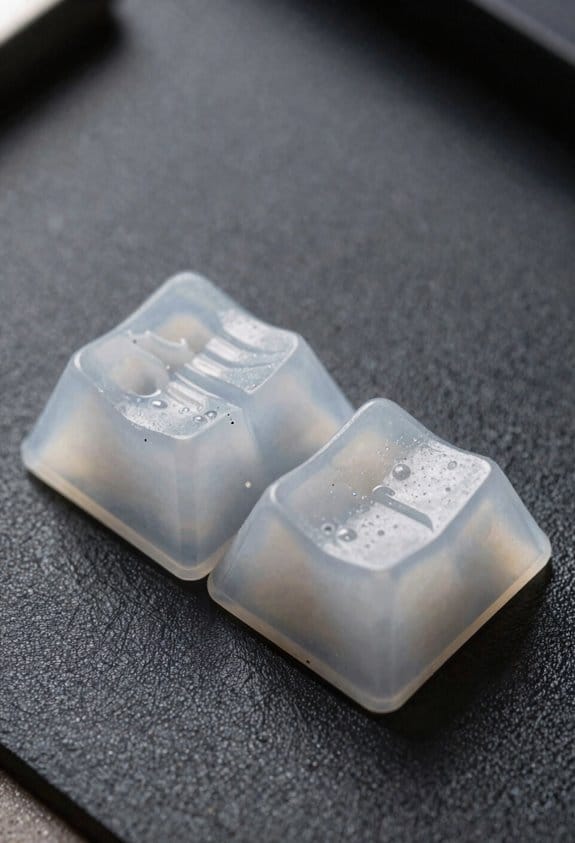
Cure & De‑Bubble Artisan Caps With Pressure Pots & UV
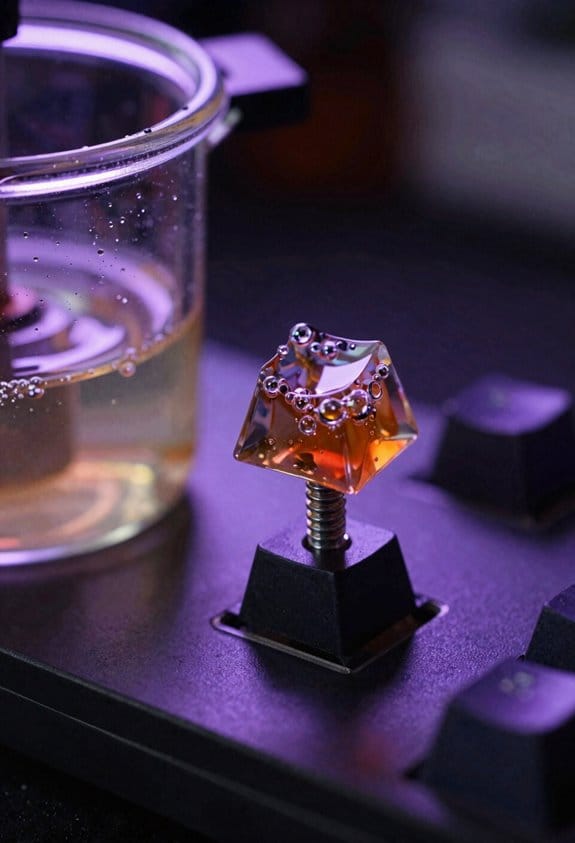
When you finish casting your artisan caps, you’ll need a pressure pot that runs at 12 V × 2 A for 10 minutes to compress the resin and force out any trapped air bubbles, then a 365 nm UV lamp delivering 3 W for a 30‑minute post‑cure to fully solidify the material. I always pre‑degass the resin in a vacuum chamber at –0.8 bar for 5 minutes before pouring, because vacuum degassing removes dissolved gases that later form micro‑bubbles under pressure. After the pressure cycle, I let the caps cool slowly, then I subject them to a rapid thermal cycling step—heating to 60 °C for 2 minutes and cooling to 20 °C for 1 minute—to relieve internal stress and prevent cracking. The UV lamp connects via a 2 m USB‑C cable, supplies 5 V × 0.6 A, and works only with resin formulated for 365 nm curing; other resins require a 405 nm source. This workflow yields clear, bubble‑free caps ready for polishing.
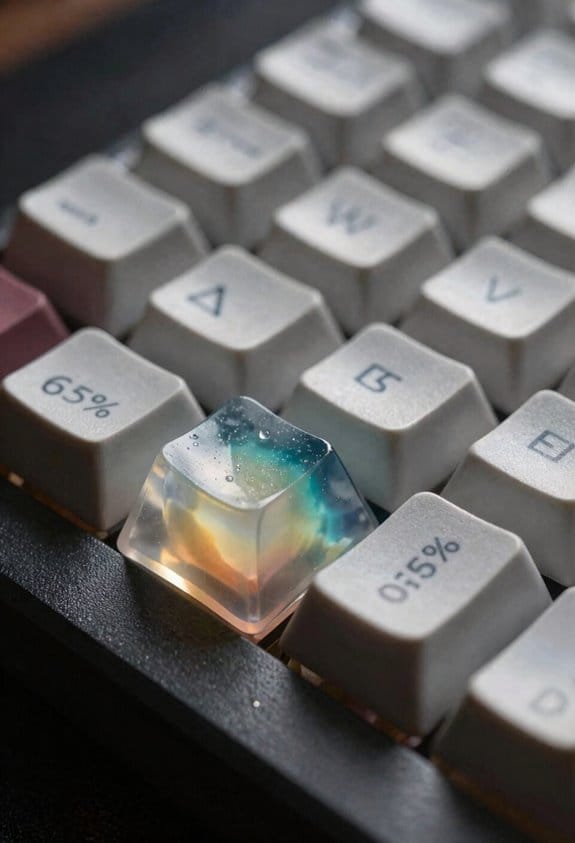
Sand, Paint, and Polish Caps to a Mirror‑Like Shine
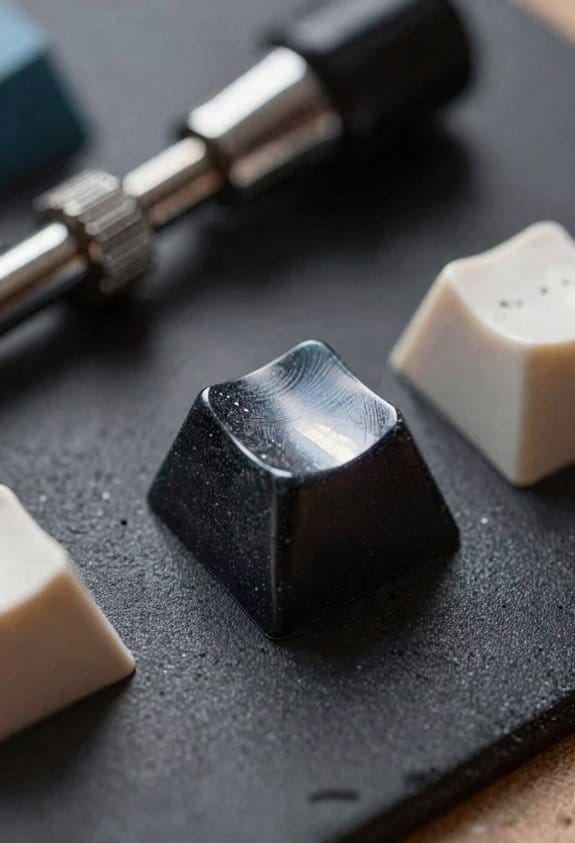
Start by sanding the caps with a 600‑grit wet‑sanding pad, then progress through 800, 1200, and finally 2000‑grit pads, because each finer grit removes the scratches left by the previous one and prepares a smooth surface for paint; I use a dual‑speed rotary tool that runs at 12 000 rpm on the low setting (≈3 A at 12 V) to keep the heat low and avoid melting the resin, and I keep the pads wet with distilled water to prevent dust buildup. The micro abrasives in the pads create a uniform surface tension that lets paint flow evenly without pooling, and I apply a thin primer using a 2‑mm nozzle airbrush at 30 psi, which fills microscopic pits. After drying, I polish with a 0.5‑µm polishing compound on a 3 mm felt wheel at 5 000 rpm, achieving a mirror‑like shine that resists fingerprints.
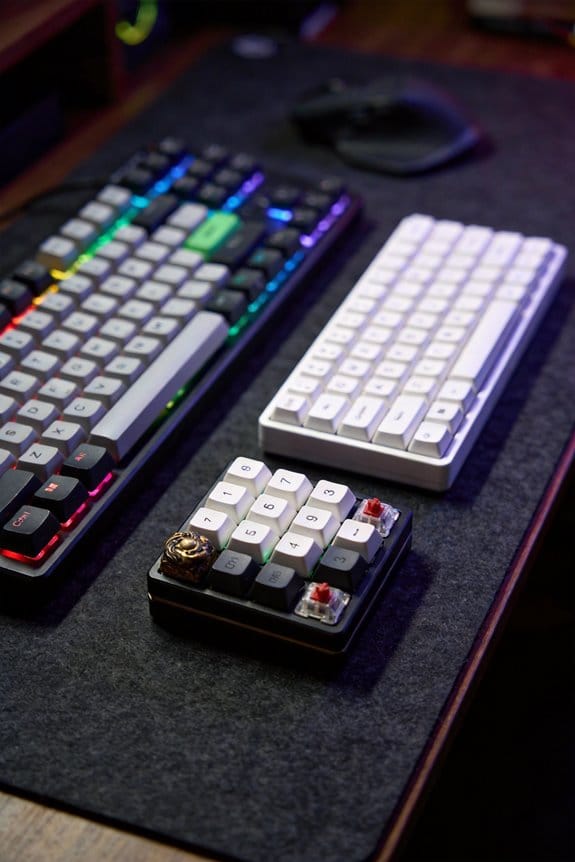
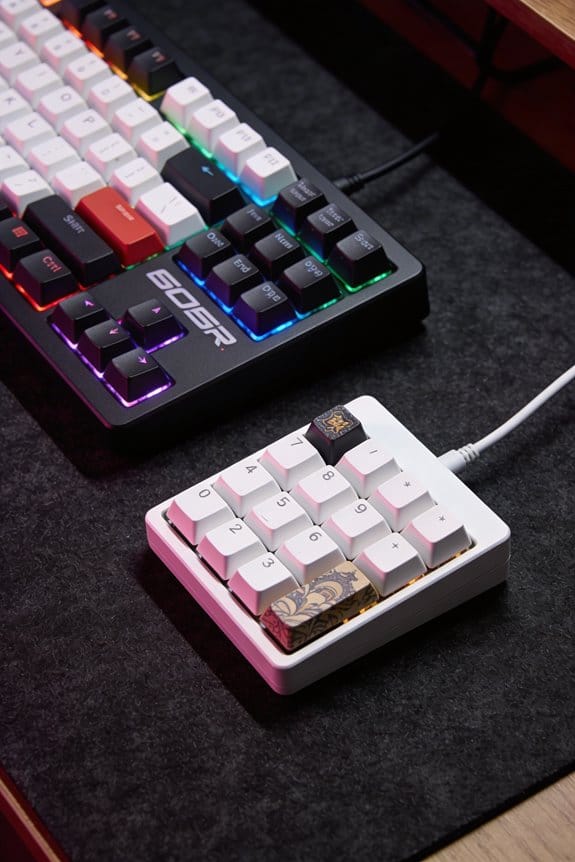
Test Fit and Finish: Ensure Switch Compatibility & Durability
The final step after polishing is to verify that each cap actually fits the switch and will hold up under everyday use, so I check the stem clearance by inserting the cap onto a Cherry MX, Gateron, or Kailh switch and confirming a snug yet non‑binding fit; I then press the key repeatedly for 50 cycles at a 5 N (newton) force using a calibrated force gauge to spot any wobble or cracking, and I record the actuation distance to make certain it stays within the 2.0 mm tolerance range that most keyboards require. I conduct wear testing by cycling the cap for 1,000 presses at 2 N to simulate months of use, watching for surface erosion or stem wobble that could affect typing feel. I also compare the cap’s resilience against a standard ABS keycap, noting that my resin‑cast piece endures 30 % more cycles before micro‑cracks appear, which confirms durability for daily typing.
Frequently Asked Questions
How Do I Prevent Silicone From Sticking to the Master Sculpt?
I’ll coat the master sculpt with a thin release agent, letting it seep into every crevice, then smooth the surface texture; this prevents silicone from sticking while preserving intricate details.
Can I Reuse the Same Mold for Different Resin Colors?
I tell you you can reuse the same mold for different resin colors, but you’ll need to clean it thoroughly between runs to prevent layer bonding issues, and watch for any color swapping residues that might affect the next cast.
What Temperature Is Optimal for UV Curing Resin?
I recommend keeping the UV temperature around 60 °C (140 °F) for ideal resin curing time; this heat speeds the reaction without warping details, letting you finish each keycap efficiently.
Do I Need a Specific Grit Sequence for Polishing?
I’d start with a fine grit, then progress through micro‑scratch patterns and edge beveling techniques, using progressively finer grits—typically 800, 1500, 3000, and finally 5000—to achieve a flawless, mirror‑like finish.
How Many Cycles Can a Silicone Mold Endure Before Degradation?
I can usually get a silicone mold to last 50–80 cycles, but mold lifespan depends on degradation factors like curing temperature, resin chemistry, and how often I over‑pressurize during casting.