I start by clearing a 30 × 30 cm anti‑static mat and gathering a plastic 5 mm keycap puller, an 80 psi compressed‑air can, a 3 mm soft‑bristle toothbrush, a bowl of 40 °C soapy water, a 120 g/m² microfiber cloth, 70 % isopropyl alcohol, cotton swabs, and a 2 mm‑nozzle vacuum; I photograph the layout, pull each cap straight up to avoid twisting stabilizers, soak them five minutes, scrub gently, rinse under a steady 1 L/min flow, dry on the microfiber for at least 30 minutes, then blast the board at a 45‑degree angle with short 0.5‑second air bursts, brush switch housings, wipe seams with alcohol‑dampened swabs, apply a thin PTFE grease layer to stabilizers, re‑press caps per the photo, test tactile feel, and finally wipe the case dry—continue and you’ll discover the exact timing and pressure settings for each step.
Key Takeaways
- Remove all keycaps with a plastic puller, photograph the layout, and set caps aside in the photographed order.
- Soak keycaps in warm (35‑40 °C) soapy water for five minutes, then gently brush with a soft‑bristle toothbrush and rinse thoroughly.
- Dry keycaps on a microfiber towel, face‑down for ten minutes and then upside‑down for twenty minutes, ensuring they are completely moisture‑free.
- Use 80 psi compressed air at a 45° angle to blow out debris from the PCB and switch stems, followed by a soft nylon brush to sweep remaining grit.
- Wipe the keyboard body with lightly dampened 70 % isopropyl‑alcohol swabs, lubricate stabilizers with PTFE grease, then reassemble and test each key for consistent feel.
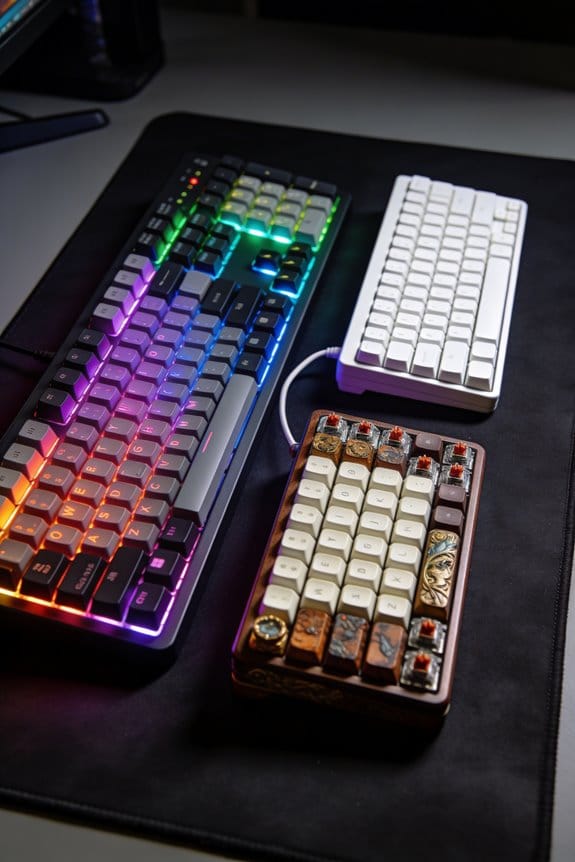
Prepare for Keyboard Deep Cleaning: Workspace & Tools
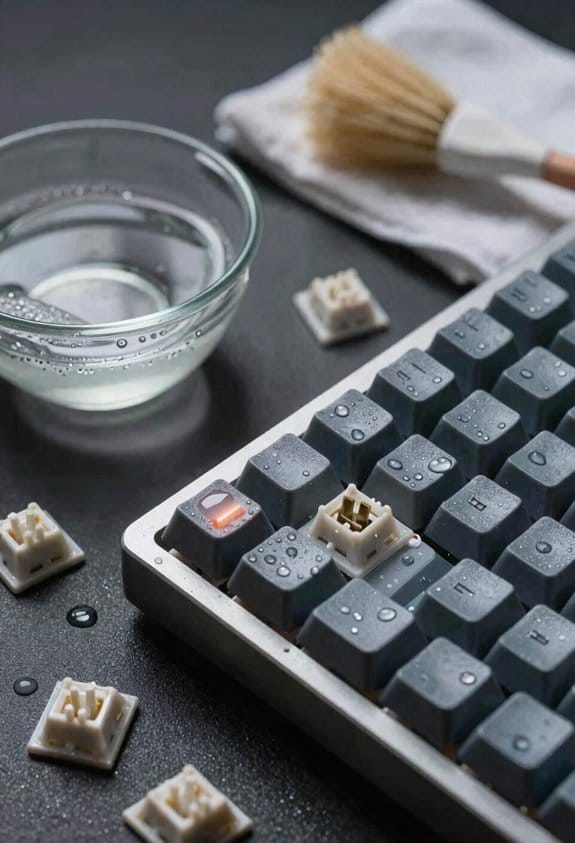
I start by clearing a clean, flat surface—preferably a large mat or a table covered with a soft towel—to keep dust from scattering while I work, because a controlled workspace prevents tiny particles from settling back onto the keyboard later. My work surface must be non‑static, at least 30 × 30 cm, and level to avoid keycap roll‑off. I then assemble a tool checklist: a keycap puller (plastic, 5 mm opening), a can of 80 psi compressed air, a soft‑bristle toothbrush (3 mm bristles), a bowl of warm water (≈40 °C) with a few drops of dish soap, a microfiber cloth (120 g/m²), isopropyl alcohol (70 % , cotton swabs, and a small vacuum with a 2 mm nozzle. All items are verified for compatibility with my keyboard’s dimensions and switch type before I begin.
Recommended Products

【UPGRADED KEYBOARD CLEANING KIT - 2 PACK】 Now available in a convenient 2-pack option! Each of these macbook cleaning kits, which can also serve as a computer screen cleaner, is packed with a comprehensive set of accessories. Each kit inclued a retractable large brush, two polishing cleaning cloths, a keycap puller, a metal pen tip, a flocking sponge, a thin soft brush, a soft plastic lens cleaning pen, five replacing cloths, and a large cleaning microfiber cloth

𝐄𝐋𝐄𝐂𝐓𝐑𝐎𝐍𝐈𝐂𝐒 𝐂𝐋𝐄𝐀𝐍𝐈𝐍𝐆 𝐊𝐈𝐓: Keep your devices spotless with this all-in-one cleaning kit for electronics. Designed for a variety of gadgets, including laptops, gaming keyboards, and phones, it features specialized cleaning tools for every surface. From charger port cleaning kits to earbud cleaners, this kit ensures your tech stays dust-free and fully functional—making it an essential addition to your computer accessories collection.

As an affiliate, we earn on qualifying purchases.
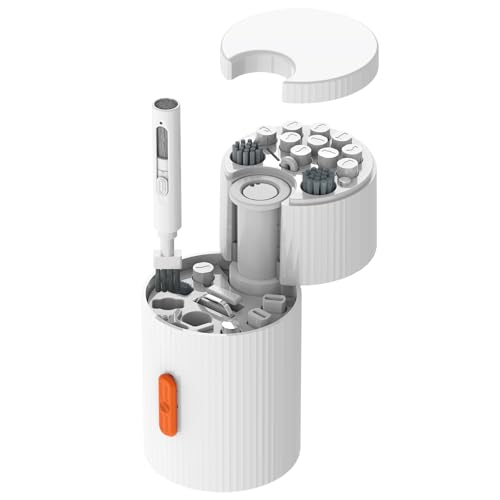
33-IN-1 ALL-IN-ONE CLEANING KIT One compact kit for phones, earbuds, keyboards, laptops, monitors, camera lenses and more.
Remove & Map Keycaps Without Damaging Stabilizers
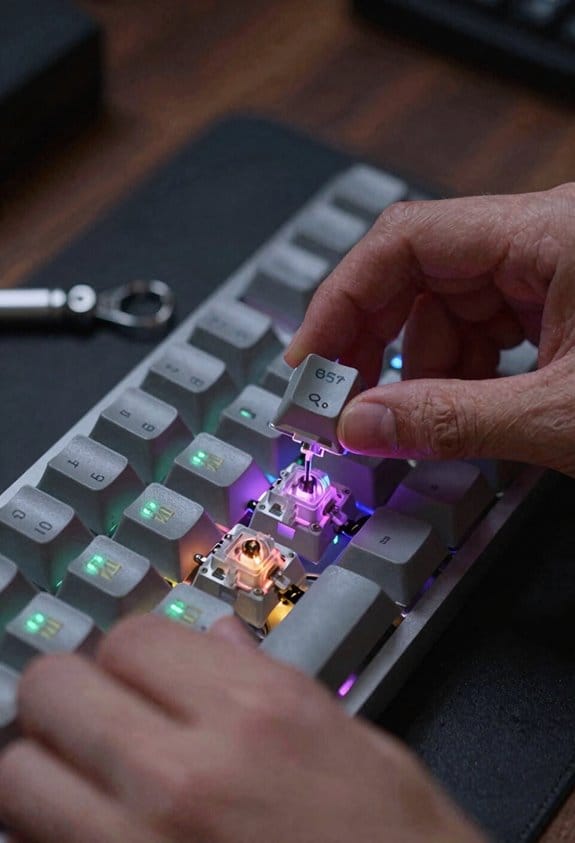
Pulling the keycaps off carefully prevents the stabilizers—those small metal bars that keep larger keys like the spacebar, enter, and shift level—from snapping or bending, and the keycap puller—usually a plastic tool with a 5 mm opening—should be slipped under each keycap’s opposite corners, squeezed gently, and lifted straight up while keeping the puller’s arms parallel to the keyboard surface to avoid twisting the stabilizer clips. I first photograph the layout with a phone camera, then label rows on the image to remember where each key belongs. Using the puller on standard keys, I pinch the sides if no tool is available, but for larger keys I apply steady, even pressure to keep the metal bars intact. After removal I shake the board to dislodge loose debris, then set the caps aside in the photographed order, ensuring the reassembly matches the original label rows without damaging stabilizers.
Recommended Products

Holds up to 36 mechanical keyboard switch springs, stems, and housings in perfect position for maximum lubing efficiency.


[One puller, three functions] GATERON Keycap & Switch Puller With Switch Opener 3-in-1 Customization Tool

【FEATURE】 It is useful while customize your mechanical keyboard with detachable switches.
Soak, Scrub, and Dry Keycaps for Spot‑Free Results
Dipping the keycaps in a bowl of warm (≈35 °C) water mixed with a few drops of mild dish soap—avoiding water temperatures above 45 °C to prevent plastic warping—lets the soap break down oils and grime while the temperature keeps the resin from softening. I let them sit for a warm soak of five minutes, then I use a soft‑bristled toothbrush for gentle brushing, moving in circular motions to lift stubborn particles without scratching the surface. After the scrub I rinse each cap under a steady 1 L /min flow of room‑temperature water, making sure no suds remain. I lay the caps on a clean microfiber towel, face‑down for ten minutes, then flip them upside‑down for another twenty minutes to guarantee complete drying before reassembly.
Recommended Products

【Character Light & Line backlit】This keycap mimics the unique contours of terrain maps with a simple and stylish design, perfect for gamers who want to show off their love of nature. Compared with other key caps of the contour line, this key cap has been upgraded, every line can be transparent, and will give your keyboard a new look.Compared with other topographic caps, this key cap is different in that the lines are displayed in the form of line segments, which are not coherent, showing personality.

As an affiliate, we earn on qualifying purchases.
![newrichbee [Upgrade Version] 4 Pack Micro Nano Extra Soft Toothbrush with Cover,20000 Soft Bristle Toothbrush for Sensitive Teeth or Gum,Especially for Pregnant or Elderly.](https://m.media-amazon.com/images/I/41zkPrVxcbL._SL500_.jpg)
This soft bristle toothbrush is better design to brush teeth with the fine bristle 8 part of bristle ,better to dry and wash after brush teeth
Remove Dust From Keyboard Body and Switches

After the keycaps are soaking and rinsed, the next step is to clear the dust that’s settled inside the keyboard body and around the switches, which are the tiny mechanical contacts that register each keystroke. I start by holding the keyboard at a 45‑degree angle and using a can of compressed air (15 psi, 0.5 L) to blast out loose particles from the PCB and switch stems, pausing 2 seconds between bursts to avoid moisture buildup. Next, I employ a soft‑bristled brush (synthetic nylon, 0.3 mm tip) for brush maintenance, gently sweeping the remaining grit from the switch housings and the case interior. For stubborn specks, I lightly tap the keyboard while the brush is in place, letting gravity and airflow work together to dislodge debris without damaging the contacts.
Recommended Products

Makita-built brushless motor delivers up to 447 MPH and 39 CFM

All steel construction

Wipe Keyboard Surfaces and Gaps With Alcohol Swabs
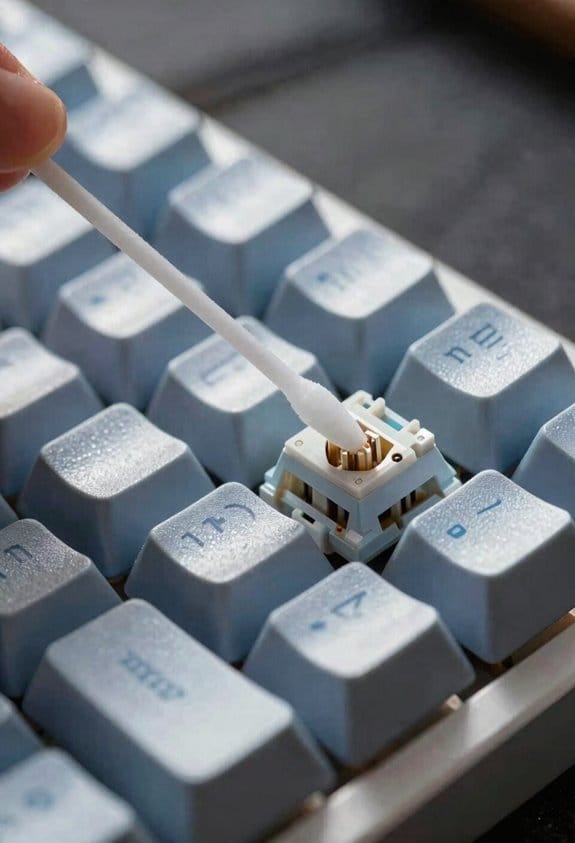
Wipe the keyboard’s exterior and the tiny gaps between switches with a cotton swab lightly soaked in 70 % isopropyl alcohol, because the alcohol evaporates quickly, kills bacteria, and dissolves oily residue without damaging plastic or electronics. I choose a 70 % alcohol concentration because it balances rapid evaporation with effective disinfection, unlike higher concentrations that can leave moisture longer. My swab technique involves squeezing the swab to remove excess liquid, then rotating it gently while sliding along each seam, which prevents pooling and makes certain the solution reaches only the surface. I work row by row, swapping to a fresh swab after a few strokes to avoid spreading grime. This method removes sticky film, reduces friction, and leaves the case and key stems clean without harming circuitry.
Recommended Products

Convenient Packaging: MagiCare 75% alcohol wipes for cleaning hands come in 40 resealable packs of 80 (3200 total). Great for stocking up or for businesses. Easy open/close flip-top lid with reseal sticker to retain moisture.
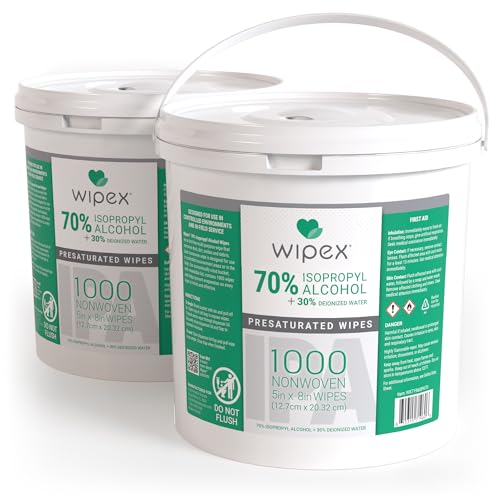
Remove dust, dirt, and eliminates debris from an array of surfaces. Isopropyl alcohol Wipes 70% is safe to the skin and most surfaces. Economy-size alcohol wipes bulk bucket with tight lid.
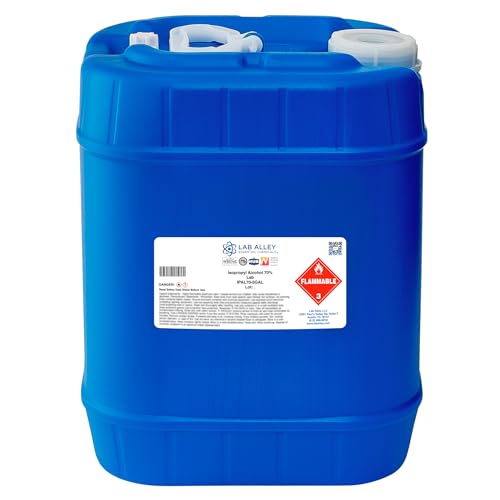
𝗟𝗮𝗯 𝗚𝗿𝗮𝗱𝗲 𝗜𝘀𝗼𝗽𝗿𝗼𝗽𝘆𝗹 𝗔𝗹𝗰𝗼𝗵𝗼𝗹 – 𝟳𝟬% 𝗙𝗼𝗿𝗺𝘂𝗹𝗮𝘁𝗶𝗼𝗻: Formulated with 70% isopropyl alcohol and 30% distilled water for controlled evaporation and effective cleaning performance in laboratory and industrial settings.
Reassemble, Lubricate Stabilizers, and Perform Final Inspection
If you’ve let the keycaps dry completely—typically 30 minutes to an hour—start reassembling by first checking each stabilizer, which is the small plastic bar that keeps larger keys like the spacebar, enter, and plus key steady; make sure the stabilizer housing is clean, then apply a thin layer of 0.1 mm‑diameter PTFE (polytetrafluoroethylene) grease, which reduces friction and eliminates rattling, using a precision brush to spread it evenly without excess. I line up the stabilizer alignment by gently pressing the bar into its housing until it clicks, confirming that the bar sits centrally without tilt. After reinserting all switches, I place the keycaps according to the layout photo, then perform tactile testing by pressing each key to feel consistent resistance and silence. Finally, I wipe the case with a dry microfiber cloth, check for loose screws, and verify that no debris remains under any key.
Frequently Asked Questions
Can I Clean a Hot‑Switch Keyboard Without Removing Keys?
I’ll tell you yes—just spray a light mist, let keycap fogging settle, then wipe; the switch audio stays crisp, and you avoid full disassembly while keeping everything clean.
Will Using a Dishwasher Damage My Keycaps?
I’d say a dishwasher can ruin your keycaps—dishwasher safety isn’t guaranteed, especially for plastic or PBT material, which can warp, discolor, or lose legends under high heat and harsh detergents.
How Often Should I Lubricate Stabilizers?
I’d say lubricate your stabilizers every six months, after major spills, and during seasonal maintenance—otherwise they’ll squeak like a haunted house, and you’ll wonder why your typing sounds like a creaky haunted.
Is It Safe to Use Bleach on the Keyboard Case?
I wouldn’t use bleach; it can degrade plastic and metal. Instead, try mild soap, isopropyl alcohol, or vinegar—these bleach alternatives respect material compatibility and keep the case safe.
Can I Reuse the Same Cleaning Solution for Multiple Keyboards?
I’d say reusing the same solution is a disaster waiting to happen—cross‑contamination risks skyrocket, and solution concentration effects degrade quickly, so each keyboard deserves a fresh mix.