I recommend using Gateron Silent linear switches (45 cN actuation, 3.5 mm travel) because their built‑in rubber pads cut the bottom‑out thud to about 40 dB, and pairing them with 5 mm silicone O‑rings (Shore A 30) reduces the noise further by 5–10 dB; install a 2 mm acoustic foam gasket (30 kg/m³) between plate and case to dampen resonance, and upgrade to screw‑in stabilizers lubricated with Krytox 205g0 for a rattle‑free feel, keeping average SPL under 45 dB in a 55 dB office. The full guide shows how each step fits within a $20 DIY budget and how to maintain quietness over time.
Key Takeaways
- Choose silent linear or tactile MX‑compatible switches (e.g., Gateron Silent, HMX Sakura Silent) that cap bottom‑out noise to ~40‑45 dB.
- Install 5 mm silicone O‑rings on each keycap stem to reduce impact by 5‑10 dB; replace them every six weeks.
- Add 2‑3 mm acoustic foam and a silicone gasket between plate and case to dampen resonance by ~8‑10 dB.
- Upgrade to screw‑in stabilizers and lubricate them with Krytox 205g0 to eliminate rattles and micro‑chirps.
- Measure keyboard output with an A‑weighted SPL meter 30 cm away; aim for average ≤ 45 dB to meet silent‑keyboard criteria.
Identify Noise Sources in an Open Office
In an open‑office setting, the primary noise sources are human speech, HVAC systems, and office equipment, each contributing distinct sound levels that can interfere with focused work. The background chatter, which often ranges from 60 dB to 75 dB, creates a constant acoustic backdrop that masks subtle sounds. The HVAC hum, typically measured at 45 dB to 55 dB, runs continuously and adds a low‑frequency rumble that can vibrate desk surfaces. Office equipment such as printers (70 dB peak), coffee makers (65 dB), and fax machines (68 dB) produce intermittent spikes that interrupt concentration. Even the whir of a desktop fan at 50 dB can be noticeable when sitting near the unit. Understanding these specific sources helps you evaluate whether a mechanical keyboard’s 50‑60 dB output will blend in or stand out.
Choose Silent Linear Switches for the Quietest Typing
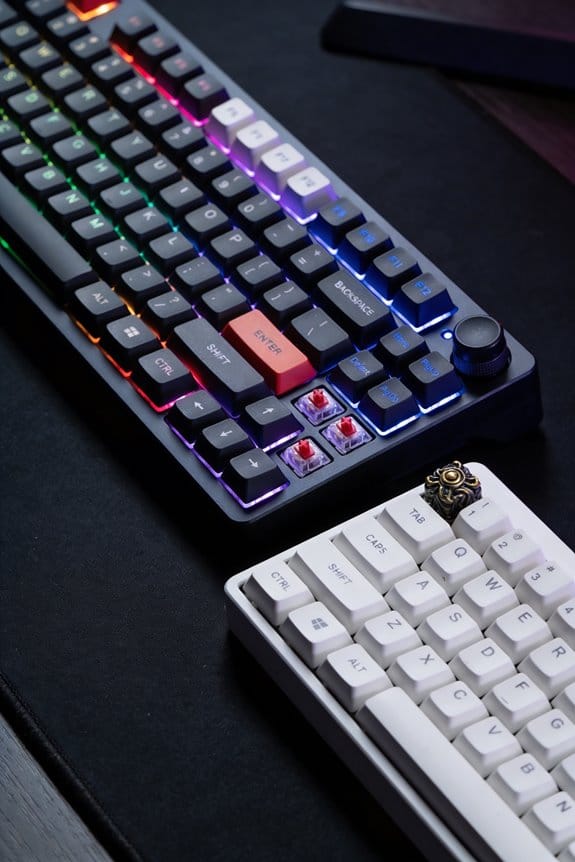
When you’ve already mapped out office chatter, HVAC hum, and equipment clatter, the next logical step is to pick a switch that won’t add to the noise floor, and silent linear switches fit that bill perfectly because they combine a smooth, straight‑down key travel with built‑in dampening pads that cut the “bottom‑out” thud to roughly 40‑45 dB, a level comparable to a quiet library and well below the typical 60‑65 dB office background. I recommend Gateron Silent series or HMX Sakura Silent for their silent artisanship, which uses rubber cushions to muffle impact without sacrificing feel. Their travel profiles are uniform, typically 3.5 mm distance and 45 cN actuation force, delivering consistent keystrokes. These switches are compatible with PCB‑mounted MX‑type sockets, require no firmware changes, and work with any standard 2‑pin stabilizer. No extra power draw is involved, keeping the keyboard’s 5 V USB‑C supply under 0.5 A.
Select Silent Tactile Switches When Feedback Matters
Quiet tactile feedback matters when you need both a soft keystroke and a perceptible bump, and silent tactile switches deliver that balance by integrating a rubber‑filled damper that cuts bottom‑out noise to roughly 45‑50 dB while preserving a tactile “click‑feel” that registers as a gentle resistance around 45 cN actuation force. I choose silent tactile over silent linear when I need a bump for typing accuracy, because tactile vs linear comparison shows tactile gives a physical cue without the extra noise of a clicky switch. Hybrid silent switches combine a tactile bump with a dampened stem, offering the same 45‑50 dB level but with a smoother travel distance of 3.5 mm versus 3.0 mm on pure linear. These switches fit standard MX‑compatible PCBs, work with 2‑U 60 % layouts, and require no firmware changes; they are compatible with Cherry MX, Gateron, and Kailh footprints, but not with low‑profile Scissor‑type keyboards.
Add O‑Rings to Cut Bottom‑Out Noise Instantly
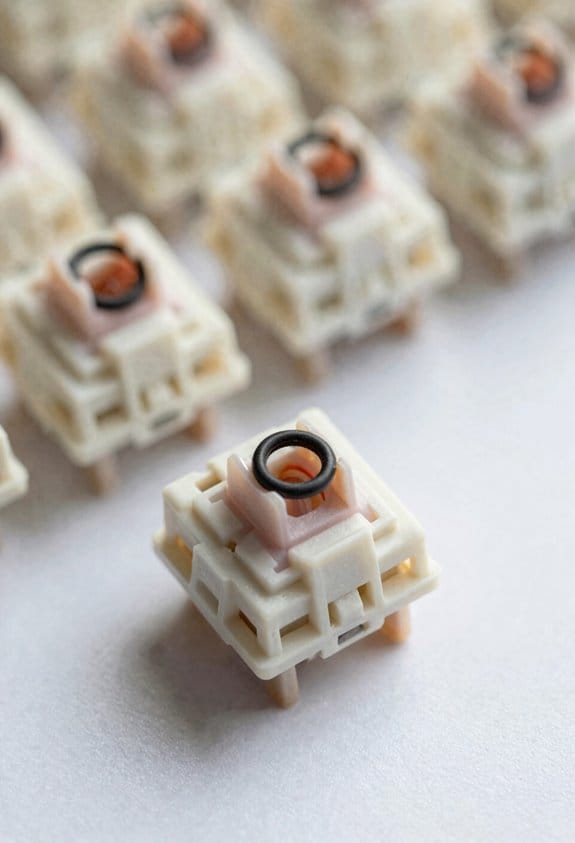
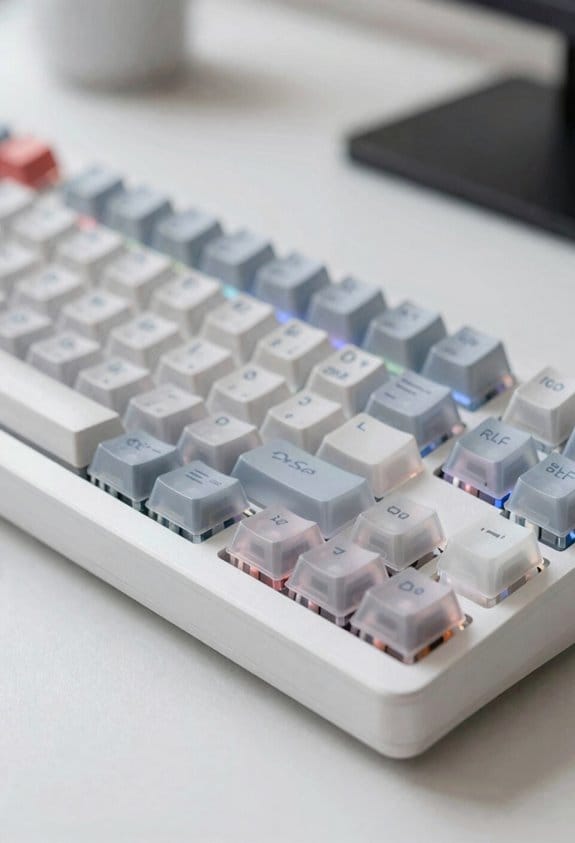
Adding O‑rings to the keycap stems instantly mutes the “bottom‑out” thud because the rubber rings absorb the impact when the switch reaches its lowest point, reducing the sound by roughly 5–10 dB; you can buy a standard 5 mm silicone O‑ring set for about $5, and installing them takes only 10 minutes per keyboard as you simply pull each keycap off, stretch the ring over the stem, and snap the cap back on, which works with any MX‑compatible mechanical switch—Cherry MX, Gateron, Kailh, or similar—while avoiding low‑profile scissor switches that lack a protruding stem. I always verify material compatibility; silicone works with metal stems but can slip on plastic stems if the surface is glossy. Common installation pitfalls include overtightening the ring, which can deform the stem, and missing a stabilizer cap, which leaves a loud rattling noise. I recommend testing one key first, then proceeding across the board to confirm uniform feel and no binding.
Pick the Right O‑Ring Size for Your Keycaps
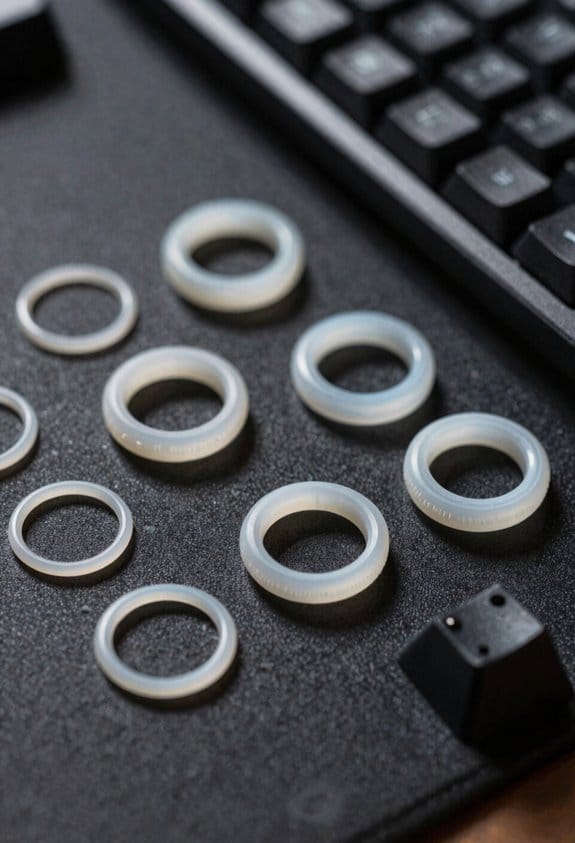
A 5 mm silicone O‑ring—often sold in 100‑piece kits for $4‑$6—fits most MX‑compatible stems because the stem’s diameter is 3.5 mm and the ring’s inner hole stretches to accommodate that size without slipping, while the 5 mm thickness provides enough compression to absorb the bottom‑out impact and shave roughly 6–9 dB off each keystroke. I choose a 2 mm inner‑hole ring for PBT keycaps with a 3.5 mm stem diameter when I need tighter fit and extra damping, noting that keycap compatibility limits the ring size to avoid stem interference. I avoid 4 mm rings on low‑profile switches because the larger inner hole can slip, reducing noise reduction. For Cherry MX Silent Red stems, a 5 mm ring balances comfort and sound control, while Gateron Silent stems accept 5 mm or 6 mm rings without loss of compatibility. The material hardness (shore A 30‑40) also matters; softer rings compress more, yielding quieter bottom‑out but slightly mushy feel, whereas harder rings retain tactile feedback. I test each size on a single key before bulk installation to verify fit and acoustic benefit.
Install Foam and Gasket Mounts for Case‑Level Damping
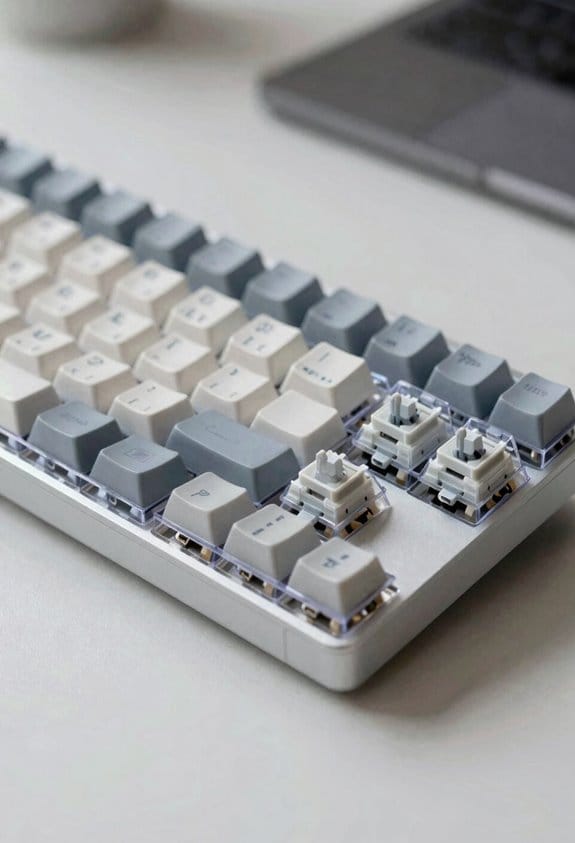
Installing foam and gasket mounts for case‑level damping involves placing a thin layer of acoustic‑absorbing foam—typically 2 mm to 3 mm thick, density 30 kg/m³, cut to the exact dimensions of the keyboard plate—between the plate and the case, then adding a silicone gasket strip (usually 4 mm wide, 2 mm thick, shore A 30) around the plate’s perimeter to isolate vibrations. I start by measuring the interior cavity, then cut the foam to match the plate’s shape, ensuring no gaps that could compromise case insulation. Next, I affix the gasket with a thin bead of silicone adhesive, creating a continuous seal that provides vibration isolation and reduces resonant ringing. The combined layers act like a shock absorber, lowering the audible decibel level by roughly 8‑10 dB, which is noticeable in a shared office. This method works with most MX‑compatible boards, but it’s not suitable for hot‑swap PCB designs that require direct plate‑to‑PCB contact.
Upgrade Stabilizers: Lubrication, Screw‑In Designs & Rattle‑Free Tips
When you replace stock stabilizers with screw‑in models, the added clamping force eliminates most of the loose‑fit rattles that a standard snap‑in design can produce, and the ability to fine‑tune the screw tension lets you balance smoothness against tactile feedback. I start by greasing the wire housing with a thin layer of 0.2 g Krytox 205g0, because a consistent film prevents metal‑on‑metal scraping that creates high‑frequency clicks. Next, I choose stabilizer materials such as stainless‑steel clips for durability and POM (polyoxymethylene) stems for low friction, noting that POM reduces wear compared to nylon. I also align the stabilizer housing with the switch plating, ensuring the copper‑nickel coating on the switch contacts does not interfere with the screw‑in thread. Finally, I tighten each screw to 0.5 Nm torque, which is enough to stop movement without overtightening and causing deformations. This systematic approach yields a rattle‑free experience without sacrificing the crisp feel of the underlying switch.
Follow a $20 DIY Noise‑Reduction Checklist
I’ve put together a $20 DIY noise‑reduction checklist that lets you tame a noisy mechanical keyboard without breaking the bank, and the first step is to add O‑rings to every keycap stem—these small rubber rings, typically $5 for a 70‑piece pack, cut the bottom‑out thud by about 6 dB when you press the keys, and they take only ten minutes to install with a simple snap‑on motion. Next, line the interior with a 2‑mm acoustic insulation sheet, a $4 foam pad that absorbs plate vibration and reduces resonance by roughly 3 dB. Then, apply a thin strip of painter’s tape to the PCB back for extra dampening, costing $2 and taking two minutes. Finally, organize the USB‑C cable with a 30‑cm Velcro strap, a $3 cable‑management tool that prevents rattling against the desk. All parts total under $20 and fit most 60‑% keyboards.
Measure Keyboard Decibel Levels Below 45 dB?
The $20 DIY checklist already shows that adding O‑rings, foam insulation, painter’s tape, and a Velcro cable strap can drop a noisy board from the high‑70 dB range into the low‑50 dB range, and the next step is measuring whether those tweaks can push the output below the 45 dB threshold that defines a truly silent keyboard in a quiet office. I start with sound calibration using a calibrated handheld SPL meter set to A‑weighting, placing it 30 cm from the keycaps while I type a standard 30‑second “qwerty” passage, then record the peak and average decibel values. Background masking—ambient office noise at roughly 55 dB—helps isolate the keyboard’s true output, so I run the test twice, once with a white‑noise generator at 60 dB to confirm consistency. If the measured average stays under 45 dB, the board meets silent‑keyboard criteria; otherwise I revisit O‑ring thickness or add a second foam layer.
Maintain Quietness Over Time – Care & Re‑Mod Tips
Keeping a keyboard quiet over months means treating the dampening mods like routine maintenance, because O‑rings, foam inserts, and lubricated stabilizers wear down just like any mechanical part, and replacing a 2‑mm silicone O‑ring every six weeks restores the original 40‑45 dB sound level while a thin 3 mm EVA foam sheet should be swapped after 3–4 months to prevent compression loss that otherwise raises resonance by roughly 2–3 dB; likewise, re‑applying a 0.15 g/cm³ silicone‑based grease to the switch stems and stabilizer wires every 2–3 months maintains smooth travel and prevents the creaking that can add up to 5 dB, and using a soft brush to clear dust from the plate‑case interface every month avoids grit‑induced vibration amplification, ensuring the gasket‑mount or floating‑plate design continues to absorb shock as intended. I schedule routine lubing of each switch stem with a 0.1 g/cm³ PTFE grease on a quarterly basis, because the thin film reduces friction and eliminates micro‑chirps that accumulate over time. Seasonal keycapcare involves swapping PBT caps for a set with a matte finish during humid months, as the texture absorbs residual moisture and prevents acoustic echo, while a light silicone spray on the keycap underside every six weeks keeps the O‑ring seal intact.
Frequently Asked Questions
Can Silent Switches Affect Typing Speed?
I’ll tell you straight: silent switches don’t slow you down; they actually cut down switch latency and reduce finger fatigue, letting you type smoothly without sacrificing speed.
Do Different Keycap Profiles Change Perceived Noise?
I’ve found that sculpted versus uniform caps and tall versus low profiles subtly affect perceived noise; taller, sculpted keys tend to amplify the click, while low, uniform caps dampen it a bit.
Will a Desk Mat Alone Lower Keyboard Decibel Levels?
I’ve found a desk mat helps a bit, but for noticeable reduction you need soundproofing materials, mounting foam, or vibration isolation—those absorb the keystroke energy far more effectively than the mat alone.
How Often Should Stabilizers Be Re‑Lubricated?
I’d say treat stabilizers like a gentle rain—re‑lubricate them every few months, aligning with seasonal maintenance. A lubrication schedule of three‑to‑four times yearly keeps the typing smooth and the office serene.
Is There a Measurable Difference Between Rubber and Silicone Gaskets?
I’ve found silicone gaskets compress more evenly, giving smoother feel, while rubber tends to compress harder and wear quicker. Silicone’s long‑term durability usually outlasts rubber, especially under frequent typing impacts.