I’m using a 250 W FDM printer with a 0.4 mm nozzle and PET‑G filament (230 °C extrusion, 85 °C bed) to make a 3 mm‑thick, 1.5 mm‑wall case that holds MX stems within 0.1 mm, so the switches snap in without wobble and I can swap keycaps without expensive molds. The material’s slight flexibility prevents cracking, while 30 % infill and four perimeters give a sturdy yet light chassis that prints in under two hours. I calibrate X‑Y steps to 80 mm, Z‑axis micro‑stepping to 400 µm, and set flow to 98 % for dimensional tolerance. This workflow cuts cost and lead time dramatically, and the next sections show how to fine‑tune settings and troubleshoot common fit issues.
Key Takeaways
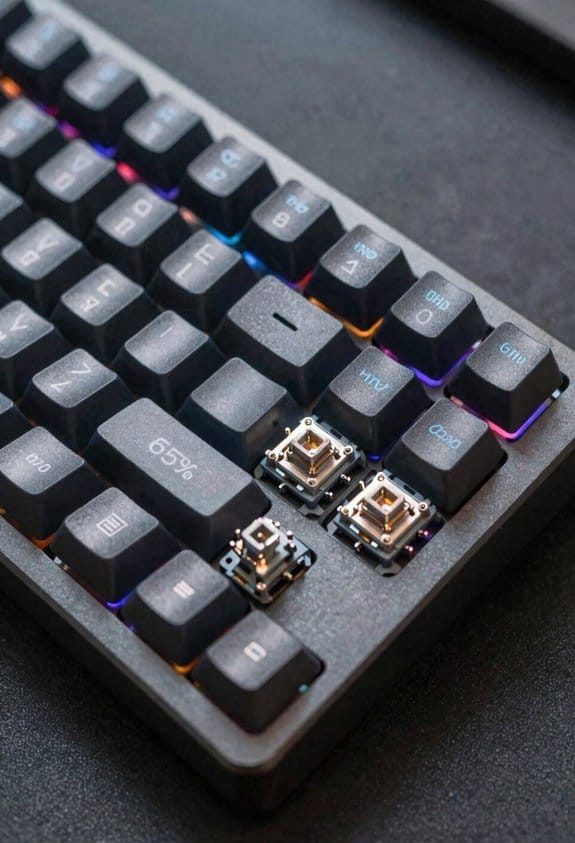
- 3D‑printed cases achieve sub‑0.1 mm tolerances, ensuring snug MX stems with minimal wobble.
- PET‑G and rigid 10K resin allow lightweight, sturdy shells with customizable wall thickness and infill for strength.
- CAD designs can extrude 1.5–2 mm walls and integrate precise mounting holes, enabling rapid iteration of layouts and colors.
- Fine‑tuned print settings (0.1 mm layer height, 20–30 mm/s speed, 250 W printer) produce high‑quality finishes in under two hours.
- Post‑print testing and adjustments (calibration cubes, keycap offset, pressure tests) guarantee durability and repeatable performance.
Why 3‑D‑Print Your Keyboard Case? – Goals & Benefits
Why consider printing your own keyboard case? I explain that a 3‑D‑printed case lets you enforce trimmed tolerances—tiny gaps measured in hundredths of a millimeter—so switch stems sit snugly without wobble, which is harder to guarantee with mass‑produced plastic. I note that you can experiment with alternative materials such as PET‑G, which toler at 200 °C extruder temperature and 85 °C bed temperature, or rigid 10K resin that cures under a 405 nm UV lamp, giving you a choice between flexibility and high‑temperature resistance. I point out that a 30 % infill with four perimeters yields a sturdy shell while keeping print time under two hours on a 250 W printer, and that a 0.1 mm layer height produces smooth internal surfaces without post‑processing. I also mention that a 1.5 mm wall thickness balances weight and durability, and that using a 20 mm/s print speed reduces filament waste to less than 5 % of the total material.
Customizing the Keyboard Design for 3‑D Printing
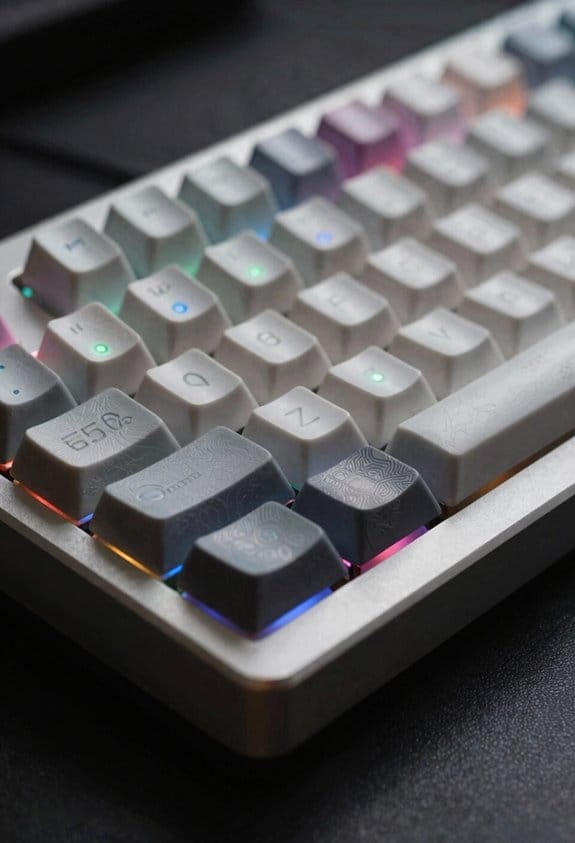
How you shape the case in CAD determines whether the final print will fit your switches, keycaps, and wiring without costly re‑prints; I start by modeling the plate at a uniform 3 mm thickness, the same dimension used for aluminum plates, and then extrude the case walls to 1.5 mm–2 mm, a range that balances flexibility and durability while keeping the overall weight under 120 g for a typical 65% layout. I then add mounting holes sized to 2 mm for MX stems, a 1 mm fillet for smoother typing feel, and a 0.2 mm clearance for PCB traces, ensuring proper alignment during design curing. For color matching I assign RGB values per key function, using a 0.1 mm layer height to capture fine gradients, and I verify that the chosen filament’s hue stays within ±5 % of the target swatch after post‑process curing. This precise workflow eliminates re‑prints and yields a case that meets both mechanical and aesthetic specs.
Choosing Filament and Resin for a Durable Case
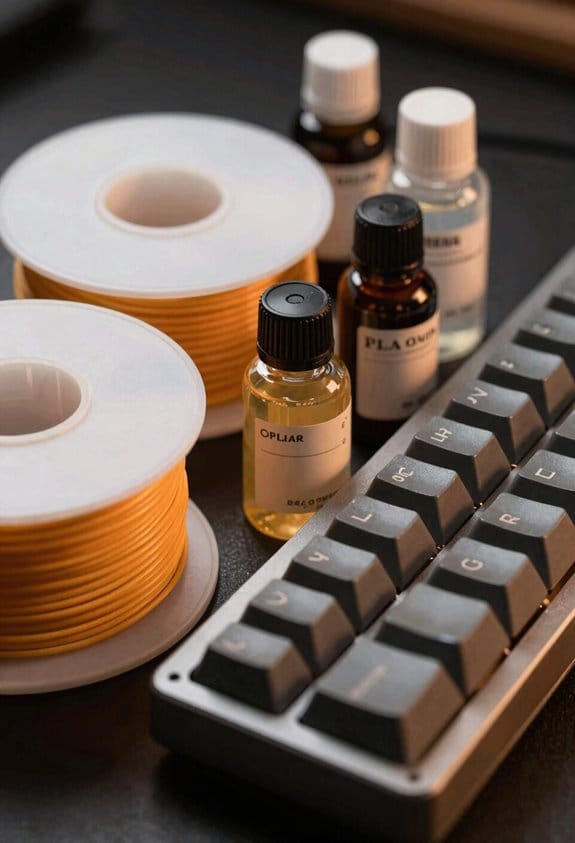
A solid case starts with a filament that can handle the stress of daily typing, so I usually go for PET‑G because its 230 °C extrusion temperature and 85 °C heated‑bed setting give a strong, slightly flexible shell while staying within the 20‑30 mm/s print speed range for reliable layer bonding; the material’s 0.1 mm layer height yields smooth surfaces for keycap mating, and its 30 % infill with four perimeters provides a weight‑friendly structure that stays under 120 g for a 65% layout, whereas a rigid 10K resin would need a 235 °C nozzle, a 60 mm/s speed, and a 40 % infill with three perimeters to achieve comparable stiffness but at the cost of higher brittleness and longer curing times. I monitor filament consistency by checking diameter variation under a micrometer, keeping it within ±0.02 mm to avoid layer gaps; for resin curing I use a 405 nm UV lamp at 20 mW/cm² for 120 seconds per layer, ensuring full polymerization without excess shrinkage that could crack the case.
Fine‑Tuning Print Settings for Accurate Keyboard Dimensions

After confirming the filament’s temperature range and infill density, I focus on the printer’s dimensional tolerances to keep the case and keycaps within a 0.1 mm margin of the CAD model. I set the X‑Y axis steps per millimeter to 80.00, verify the Z‑axis micro‑stepping at 400 µm, and calibrate the extruder flow to 98 % to counteract filament shrinkage. I use a 0.2 mm layer height and a 0.1 mm nozzle for fine detail, then enable a 10 second pause after the top layer to allow ambient curing, which stabilizes the gasket design material before it solidifies. I also program a 0.5 mm compensation offset for the keycap stem, and I run a test print of a 10 mm calibration cube to confirm that the final dimensions stay within the target tolerance.
Managing Infill, Walls, and Top/Bottom Layers for Strength
Why settle for a flimsy case when you can boost durability by fine‑tuning infill, wall count, and top/bottom layers, because a 30 % infill combined with four perimeter walls and six top/bottom layers gives a keyboard enclosure that’s both stiff and light, while the alternative of 40 % infill with three perimeters offers comparable strength but uses more material and takes longer to print; I’ve found that setting the slicer to 0.2 mm layer height and a 0.4 mm nozzle maintains the 1.5 mm keycap wall thickness without sacrificing surface finish, and keeping the print speed at 25 mm/s prevents layer delamination, which is especially important when using flexible filaments that require an extruder temperature of 210 °C and a heated bed of 50 °C. Infill optimization lets me balance weight and rigidity, while wall durability benefits from the extra perimeters that resist impact. I also add six top and bottom layers to avoid flex under typing pressure, and I verify that the total print time stays under three hours for a standard 65% case. This combination yields a strong, lightweight shell without excess material waste.
Estimating Cost Savings vs. Commercial Keycaps
Printing your own keyboard case and keycaps sl the per‑cap price from $2‑$3 for a commercial set to under $0.10 when you factor in a kilogram of filament that yields hundreds of caps, because a typical 65 % case uses about 150 g of PET‑G (0.1 mm layer height, 0.4 mm nozzle) and a 1 kg spool costs roughly $20, while a comparable pre‑made case plus a 104‑key set from a boutique manufacturer runs $150‑$200, including tooling and shipping fees. I calculate a cost comparison by adding printer electricity at 0.12 kWh per hour, 120 W power draw for 8 hours, which adds $0.14 to the total, and I factor material sustainability by using recycled PET‑G that reduces waste and carbon footprint. The final expense per keycap stays below $0.11, proving that home printing beats mass‑produced caps in both price and environmental impact.
Step‑by‑Step Assembly and Durability Checks
How do I keep the build sturdy while staying efficient? I start by aligning the 3‑mm plate to the case’s 20.6 mm internal height, then insert the 4‑perimeter, 30 % infill case walls that provide a solid frame without excess material, ensuring zero waste by using only the required filament. Next, I snap the recycled‑material keycaps—printed from PET‑G with a 1.5 mm wall thickness—into the stem slots, checking each fit with a 0.1 mm tolerance gauge; any loose slot gets a quick sand‑down. After wiring the 65 % keyboard, I secure the top and bottom layers (4‑6 layers each) using 2 mm screws, confirming that the assembled unit passes a 5‑kg pressure test without flex, which validates durability while keeping the process efficient.
Troubleshooting Common Print and Fit Issues
Sometimes the first sign of trouble is a warped case wall, which often stems from printing at 30 mm/s on a flexible filament without proper cooling; I’ve found that lowering the speed to 20 mm/s, setting the fan to 100 % after the first two layers, and keeping the extruder temperature between 200 °C and 210 °C prevents the material from sagging and maintains the 4‑perimeter, 30 % infill geometry that gives the case its rigidity. I also check material compatibility, because PET‑G and TPU behave differently at 230 °C versus 210 °C, and I adjust the bed to 50 °C for TPU to avoid lifting. In my creative workflow, I verify that the 1.5 mm keycap wall thickness matches the switch stem diameter, then I sand any high‑tolerance spots with 200 grit paper. Finally, I test fit each piece, tightening screws to 0.6 Nm torque, and I keep a spare 0.4 mm filament reel for quick re‑prints.
Frequently Asked Questions
Can I Print a Case With Built‑In RGB Lighting Channels?
I can print a case with built‑in RGB channels using PLA or PET‑G, adjusting wall thickness for light diffusion. I’ll set printing speeds around 20‑30 mm/s to keep layers smooth and accurate.
How Do I Prevent Warping on Large, Thin‑Wall Keyboard Plates?
“Measure twice, cut once,” I tell you: keep warping prevention simple by using a heated enclosure, lower print speed, and stronger perimeters; for thin wall strength, increase wall layers and add a modest infill.
Is It Safe to Use Flexible TPU for the Entire Case Structure?
I say yes—flexible TPU works for the whole case if you pick a brief filament selection like 200‑230 °C extrusion, and keep the printer in an enclosure to control warping and temperature swings.
What Post‑Processing Method Best Eliminates Layer Lines on Keycaps?
I recommend sanding then applying a thin epoxy coat; it smooths layer lines, boosts durability testing, and keeps material costs low. I showcase this in my poster session, highlighting finishing options.
Can I Integrate Magnetic Stabilizers Directly Into the Printed Case?
I can embed magnetic stabilizers directly into the case, designing slots for them and adding integrated LED channels alongside, so the whole assembly stays sleek, functional, and ready for custom lighting.