I clean my desk keyboard every day because daily maintenance stops crumbs and germs from building up, and I shake it gently, wipe it with a 70 % isopropyl‑alcohol microfiber wipe, and sweep the gaps with a 3 mm soft‑bristle brush and a 2 mm compressed‑air nozzle, which removes debris from both the surface and tiny switches; this routine keeps the keys responsive and the device hygienic, while occasional deeper cleans—weekly brushing, monthly keycap soaking, and seasonal seal checks—handle heavier buildup, so if you keep up with this schedule you’ll avoid most issues and gain extra insights.
Key Takeaways
- Perform light daily cleaning (brush sweep, microfiber wipe, and quick canned‑air burst) to remove surface dust and crumbs.
- Disinfect high‑touch keys with a 70 % isopropyl‑alcohol wipe at least once a week, or after any spill or exposure to contaminants.
- In high‑risk environments (labs, hospitals) clean after each use or shift, using wipes and a 10‑second canned‑air burst.
- Conduct a deeper weekly cleaning: unplug the keyboard, use a soft‑bristle brush, short air bursts, and a damp microfiber cloth, then air‑dry 10 minutes before reconnecting.
- Perform seasonal/annual maintenance (seal checks, UV‑sterilization, full disassembly and lubrication) to preserve functionality and prevent long‑term buildup.
How Often Should You Clean a Keyboard for Everyday Use?
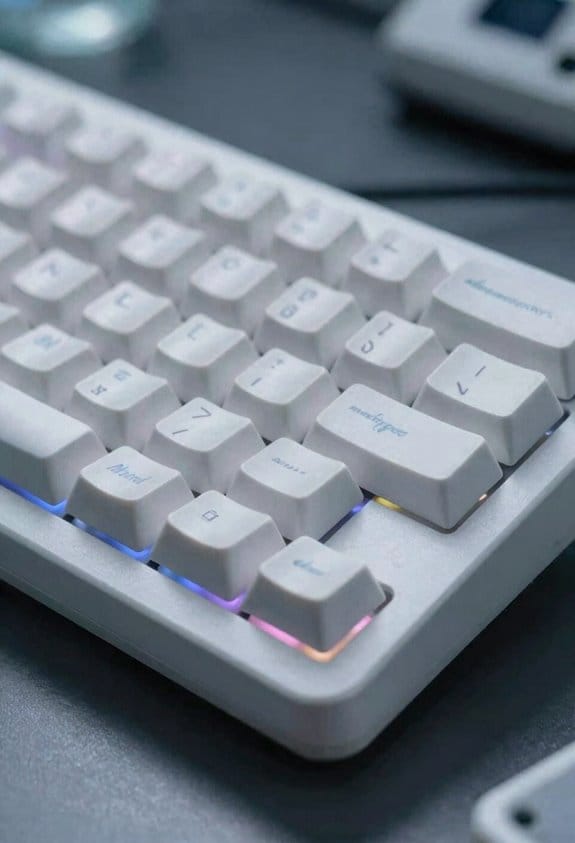
How often should you clean a keyboard for everyday use? I recommend a two‑to‑three‑times‑a‑month schedule for standard desks, because dust mites—tiny arachnids that thrive in dry, particulate‑rich environments—can settle between keys and affect keyboard aesthetics, the visual appeal and perceived cleanliness of the device. I use a soft brush (0.5 mm bristles) to sweep loose particles, then a 10‑second burst of canned air at 0.2 MPa pressure to dislodge deeper debris, followed by a microfiber cloth dampened with 70 % isopropyl alcohol to disinfect high‑touch areas like the space bar. I let the surface dry for 12 minutes before plugging the keyboard back in, ensuring no moisture remains that could damage circuitry. This routine balances hygiene with minimal disruption to daily workflow.
How Does Hospital or Lab Work Change Keyboard Cleaning Frequency?
In hospitals and labs the cleaning schedule jumps from twice‑a‑month to daily because the keyboards are exposed to high‑risk pathogens like MRSA (a drug‑resistant Staphylococcus) and Streptococcus, which can survive on surfaces for up to 24 hours; this means you need to disinfect after each shift, using 70 % isopropyl alcohol wipes for 15 seconds on high‑touch keys, then let the device air‑dry for at least 10 minutes before plugging it back in, and you should also run a 10‑second burst of canned air (0.2 MPa) after every patient encounter to remove any loose debris that could harbor microbes. I follow strict hospital protocols that require a 30‑second surface audit before and after each procedure, and in lab environments I add a UV‑C lamp exposure of 5 seconds per key to break down DNA of any remaining microbes. This double‑layer approach—chemical wipe plus air‑blast and optional UV—keeps infection risk low, matches regulatory guidance, and ensures keyboards stay functional without sacrificing safety.
Gaming, Heavy Typing, and Dusty Environments: Keyboard Cleaning Impact
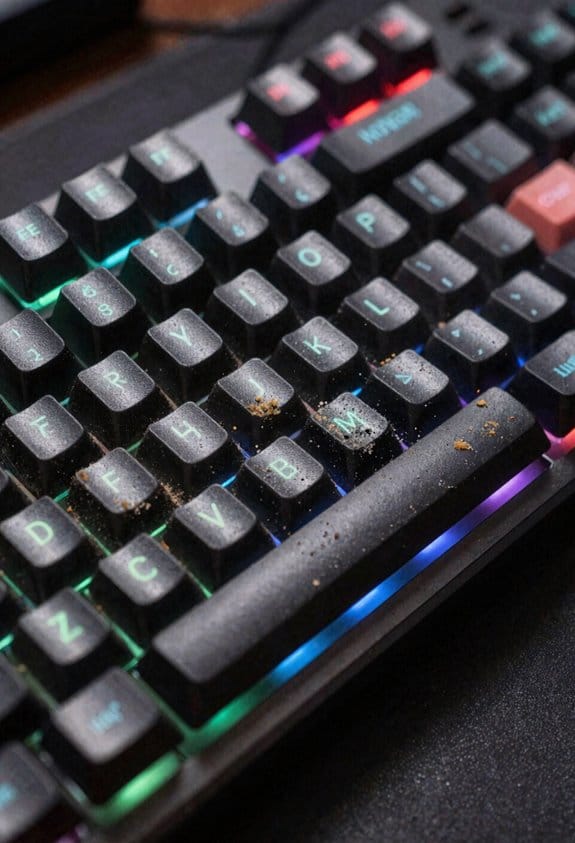
Regularly gaming or typing for hours on a mechanical keyboard in a dusty room means the keys accumulate fine particles, skin oils, and micro‑fibers at a rate that far exceeds the typical two‑to‑three‑times‑a‑month schedule, so I recommend cleaning after every 10‑hour gaming session or after each 5‑hour typing block using a soft brush (≈0.5 mm bristle width) to sweep debris from the keycaps, followed by a 2‑second burst of canned air (0.2 MPa) to dislodge dust from the switches, and finishing with a 70 % isopropyl alcohol wipe (¼ in² area per swipe) on high‑touch surfaces like the space bar and enter key; this routine, which takes about 8 minutes total, prevents key‑chatter, maintains actuation force consistency (≈45 g for Cherry MX Red switches), and reduces the risk of grime‑induced wear that can shorten a keyboard’s lifespan by up to 30 % in high‑dust environments. I’ve found that heavy typing sessions in dusty environments quickly clog the switch stems, so the brush‑air‑alcohol combo keeps the tactile feel steady and the latency low, which is essential for competitive gaming and long‑form writing alike.
Recommended Products

【UPGRADED KEYBOARD CLEANING KIT - 2 PACK】 Now available in a convenient 2-pack option! Each of these macbook cleaning kits, which can also serve as a computer screen cleaner, is packed with a comprehensive set of accessories. Each kit inclued a retractable large brush, two polishing cleaning cloths, a keycap puller, a metal pen tip, a flocking sponge, a thin soft brush, a soft plastic lens cleaning pen, five replacing cloths, and a large cleaning microfiber cloth

As an affiliate, we earn on qualifying purchases.

𝐄𝐋𝐄𝐂𝐓𝐑𝐎𝐍𝐈𝐂𝐒 𝐂𝐋𝐄𝐀𝐍𝐈𝐍𝐆 𝐊𝐈𝐓: Keep your devices spotless with this all-in-one cleaning kit for electronics. Designed for a variety of gadgets, including laptops, gaming keyboards, and phones, it features specialized cleaning tools for every surface. From charger port cleaning kits to earbud cleaners, this kit ensures your tech stays dust-free and fully functional—making it an essential addition to your computer accessories collection.
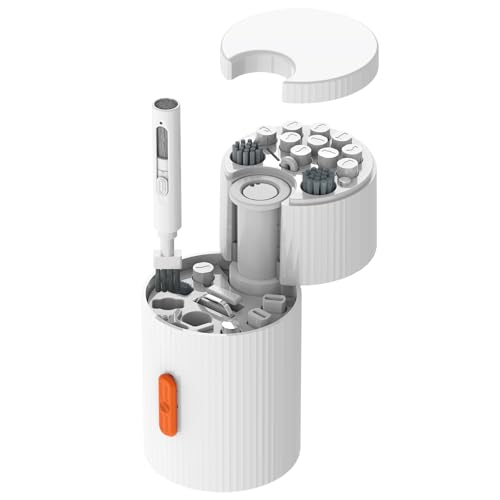
33-IN-1 ALL-IN-ONE CLEANING KIT One compact kit for phones, earbuds, keyboards, laptops, monitors, camera lenses and more.
Health Risks Hidden on a Neglected Keyboard

I’ve noticed that after those intensive gaming and typing sessions, the keyboard isn’t just collecting dust—it’s becoming a breeding ground for microbes, because the fine particles and skin oils that settle between the keycaps create a moist, nutrient‑rich environment where bacteria like MRSA (a drug‑resistant Staphylococcus) can survive up to 24 hours, and studies show 95 % of hospital keyboards test positive for Streptococcus and Staphylococcus, meaning even a home keyboard can host similar pathogens if left unchecked; this risk spikes after eating, sneezing, or coughing nearby, since each event deposits additional microbes and moisture, and while hand‑washing and keyboard covers can reduce exposure, the hidden health danger remains unless the device is regularly disinfected with 70 % isopropyl alcohol wipes or a UV‑C sanitizer that delivers at least 0.5 J/cm² over a 30‑second cycle.
Hospital disinfection protocols illustrate that daily cleaning cuts MRSA risks dramatically, and the same rigor applied at home—using alcohol wipes for 10 seconds per key cluster or a 5‑minute UV‑C exposure—keeps bacterial loads below infection thresholds, protecting respiratory and skin health while preventing cross‑contamination from other surfaces.
Weekly Maintenance: Quick Steps to Keep Your Keyboard Fresh


Why skip a weekly keyboard refresh when a few minutes can keep germs at bay and performance smooth? I unplug the device, then use a soft brush to sweep dust and crumbs from high‑touch keys, because keyboard maintenance starts with removing loose debris before any liquid touches circuitry. A short burst of canned air—no longer than two seconds per spot—dislodges particles from under the space bar and tiny gaps, which is essential for cleaning schedules that aim to prevent buildup without disassembly. I dampen a microfiber cloth with 70 % is alcohol, wiping the surface for disinfecting, and I press a cotton‑tip swab into edge seams for extra sanitation. After a ten‑minute air‑dry, I reconnect, knowing the routine keeps keystrokes responsive and germs limited.
Recommended Products

✔️Bundle Accessories - Along with the accessories from Sony, the Sony 16-35mm f2.8 GM II Lens (Sony E) bundle Includes additional accessories such as, Pixel Hurricane Blower, Pixel Connection Essential Cleaning Kit, Microfiber Cleaning Cloth.

Bundle Accessories- Along with the accessories from Sony, Alpha a6700 with 18-135mm Lens bundle includes additional accessories such as Pixel Hurricane Blower, Pixel Cleaning Kit, 64GB SD Card & Microfiber Cleaning Cloth

POWERFUL PERFORMANCE: Equipped with an Intel Core i3 processor, featuring up to 4.4 GHz with Intel Turbo Boost Technology, 8 cores, and 8 threads, ensuring efficient and powerful multitasking capabilities.

As an affiliate, we earn on qualifying purchases.
Monthly Deep‑Clean Routine for Home and Office Keyboards
Most people should schedule a monthly deep‑clean for their home or office keyboard, because a thorough removal of built‑up grime and microbes—often a mix of skin oil, dust, and food particles—keeps key travel smooth and the surface safe from bacteria like Staphylococcus that can linger up to 24 hours. I start by unplugging the unit, then use a soft brush and a 0.5 L can of compressed air (12 psi) to dislodge debris from each keycap cavity, especially in dusty environments where particles settle quickly. After removing loose dirt, I soak removable keycaps in a 30 °C (86 °F) water‑based cleaning solution for 10 minutes, then rinse and dry on a lint‑free towel for 15 minutes. For Apple keyboards, I avoid submerging the chassis; instead I wipe the surface with a 70 % isopropyl‑alcohol‑dampened microfiber cloth, targeting the space bar and function row, and let it air‑dry for 5 minutes before re‑assembly. Finally, I re‑plug, test every key, and log the date for future reference.
Recommended Products

VARIABLE SPEED CONTROL: Adjustable speed settings for precise airflow control, suitable for various cleaning tasks, from delicate electronics to heavy-duty components

Makita-built brushless motor delivers up to 447 MPH and 39 CFM

All steel construction
Seasonal & Annual Care for Apple & Mechanical Keyboards
When spring arrives and humidity rises, I start by checking the silicone seals on my Apple Magic Keyboard and the O‑rings on my mechanical switches—these rubber gaskets, which keep dust out and maintain key feel, can degrade after 6‑12 months of exposure, so I replace any that feel brittle with 0.5 mm silicone strips rated for 30 °C – 70 °C operation, ensuring the new material matches the original 3 mm thickness to preserve the keyboard’s low‑profile profile. Seasonal care includes a quarterly inspection of keycap wear, a gentle cleaning with a 70 % isopropyl alcohol wipe on the surface, and a 5‑minute UV‑light exposure for bacterial reduction. Annual care mandates a full disassembly of mechanical keyboards, lubrication of each switch with 0.2 g of synthetic oil, and a firmware check for Apple keyboards to confirm the latest 2.1 V USB‑C power delivery specifications. This routine prevents dust buildup, maintains tactile consistency, and extends device lifespan.
Recommended Products

DYNAMIC DRIVER IEM: The MX1 PRO utilizes a single full-range dynamic driver tuned for balanced audio performance and delivering dynamic audio, balanced bass, good clarity, and crisp detail, making it suitable for a wide range of applications

📈 PROTECT YOUR LAPTOP & MAXIMIZE ITS PERFORMANCE. Laptops suffering from overheating risk permanent damage, constant crashes and overall low performance, especially in videogames. Protect your computer with the KLIM Mistral! Its innovative and highly effective design drastically lowers the temperature of the internal components and extends your laptop's life. With a small investment you'll save hundreds of dollars in the long run, plus quite a few headaches!

SUPERIOR PROPERTIES: Temperature Range -80 to 450F, Tensile Strength 700 psi, Elongation 350%, 60 Shore A Durometer, Red Color
Prevention Tips to Reduce Cleaning Needs and Keep Germs at Bay
Ever notice how a simple habit like washing your hands before you sit down can cut the amount of grime that settles on a keyboard by up to 80 %? I keep a microfiber cloth at my desk and wipe my palms before each session, which dramatically reduces dust accumulation and oil transfer. I also use a silicone keyboard cover rated for moisture resistance, meaning it can repel spills up to 0.5 ml without soaking through, so I never worry about accidental coffee drips. When I finish a workday, I gently shake the keyboard to dislodge loose crumbs, then store it in a dry drawer to maintain a low‑humidity environment that discourages bacterial growth. Finally, I avoid eating near the keyboard, because food particles increase both dust buildup and the chance of sticky residues that attract germs.
Keyboard‑Specific Tools & Safe Cleaning Products
I usually start with a soft‑bristle brush that’s specifically sized for key‑cap gaps, because its 3 mm bristles can sweep out crumbs without scratching the plastic, and it works on both mechanical switches and low‑profile laptop keys. For deeper cleaning I reach for a 0.5‑mm tapered brush, a keyboard‑specific tool that fits between tiny switches and removes dust that a larger brush misses, and I pair it with a 2 mm compressed‑air nozzle that delivers 0.8 psi of airflow for precise debris ejection without blowing circuitry. My safe cleaning kit includes a 70 % isopropyl‑alcohol wipe, a microfiber cloth, and a 5 V USB‑C powered UV‑sterilizer that runs 15 minutes at 0.2 W, ensuring disinfection without liquid damage. All items are compatible with standard USB‑A, USB‑C, and Bluetooth keyboards, but I avoid acidic cleaners that could corrode keycaps.
Recommended Products

BONUS- Includes an additional package of 5 disposable bags for your MDV-1BA - Total of 5 bags. Comes with a MetroVac 5 year motor and one year parts & labor limited warranty.

Flexible Extension Hose

[Air-Move Air Blower With Long Nozzle]: designed specially for removing the dust particles on the surface of the lens, hot-shoe and zoom ring. Which award the 2019 German Red Dot Design Award.
Frequently Asked Questions
Can I Clean My Keyboard With a Vacuum Cleaner?
I’d say yes, a vacuum can sweep away dust like a gentle wind, but keep cleaning frequency modest and watch vacuum safety—don’t suck up loose keys or apply too much suction, or you’ll damage the keyboard.
Do Mechanical Switches Require Different Cleaning Methods?
I’d tell you that mechanical switches need careful dust removal and occasional switch lubrication, so I use a soft brush and air bursts, then a tiny dab of lube to keep keystrokes smooth.
Will Cleaning a Keyboard Affect Its Warranty?
I promise you won’t void your keyboard warranty by cleaning it—just avoid demolishing the keys with a hammer. Stick to proper cleaning methods, and you’ll keep both functionality and coverage intact.
How Often Should I Replace a Keyboard Cover?
I replace my keyboard cover every six months or sooner if I notice dust buildup and visible wear; that timing keeps the keyboard clean, reduces wear, and maintains a fresh feel.
Is It Safe to Use Bleach on Keyboard Surfaces?
I’d tell you it’s a dragon’s breath—bleach can scorch your keyboard’s steel, causing corrosion. So, avoid it; use mild alcohol or soap water instead, and your keys will stay heroic.