

I start with a metal‑wire keycap puller that fits a 0.5 mm clearance and has a 150 mm handle, because its thin arms lift caps without bending switches; I then soak the caps for 20 minutes in 38 °C water with a few drops of mild dish soap, scrub with a 2 mm‑bristle soft paintbrush, and spot‑treat any stubborn grime using a cotton swab dipped in 90 % isopropyl alcohol; after shaking off excess water I dry the caps on a lint‑free towel or mesh rack for at least six hours, never exceeding 40 °C, and finally press each cap straight down onto its switch until the clip clicks, ensuring MX‑style switches have 1.5 mm travel and 45 cN actuation or low‑profile scissor switches have ~60 cN resistance, then I’ll show you the next steps.
Key Takeaways
- Use a metal‑wire keycap puller that fits the 0.5 mm clearance; apply a steady 150 g vertical force and pull straight up to avoid damaging switches or stabilizers.
- For larger keys with stabilizers, insert a thin spudger under the cap edge and lift gently, ensuring the wire thickness matches the mounting holes.
- Soak removed caps in warm (≈38 °C) water with mild dish soap for 20 minutes, then scrub with a 2 mm‑bristle soft paintbrush.
- Treat stubborn stains with a cotton swab dipped in 90 % isopropyl alcohol, then wipe the cap with a microfiber cloth.
- Air‑dry caps on a lint‑free towel or mesh rack for at least six hours (letter side up) at temperatures below 40 °C before reattaching.
What Tools Do You Need for Cleaning Delicate Keycaps?
A keycap puller with metal wires is essential because its thin, sturdy arms slide under the cap’s edges without bending the plastic, and the built‑in spring releases a steady vertical force that prevents the clip from snapping; I recommend a puller that fits 0.5 mm clearance and has a 150 mm handle for comfortable grip. For delicate keycaps I also use a soft paintbrush (2 mm bristle length) to scrub without scratching, and a dedicated keyboard cleaning brush (3 mm nylon, 100 mm handle) for tighter spaces. A 120 mm compressed‑air canister (0.5 psi output, 2 hour run time) removes dust before soaking. Microfiber cloths (200 g/m²) wipe residual moisture, while cotton swabs dipped in 90 % isopropyl alcohol (0.8 ml per swab) tackle stubborn stains. All cleaning tools are chosen for precision, durability, and compatibility with standard mechanical keyboards.
Remove Caps Without Damaging Switches or Stabilizers
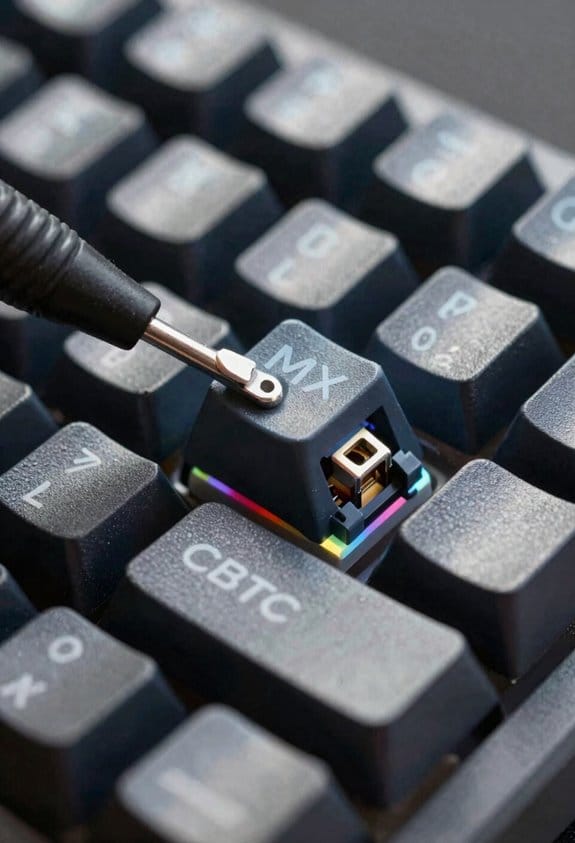
The keycap puller’s metal‑wire arms, which fit a 0.5 mm clearance and apply a steady 150 g vertical force, let me lift each cap without bending the plastic or stressing the switch’s stem; I position them evenly under the cap edges, press down to engage the tiny clips, and pull straight up to achieve clean keycap removal while preserving switch compatibility. For larger keys with stabilizers, I use a thin spudger to pry the clips from the sides, keeping the tool parallel to the PCB to avoid twisting the stabilizer bar. I always check that the puller’s wire thickness matches the keycap’s mounting holes, because mismatched sizes can pry the stem or strip the plastic, which would compromise future reassembly.
Recommended Products

Unique gasket mount keyboard with silicone gasket, 3 dampening layers, and hot-swappable pre-lubed switches for an unrivaled typing experience
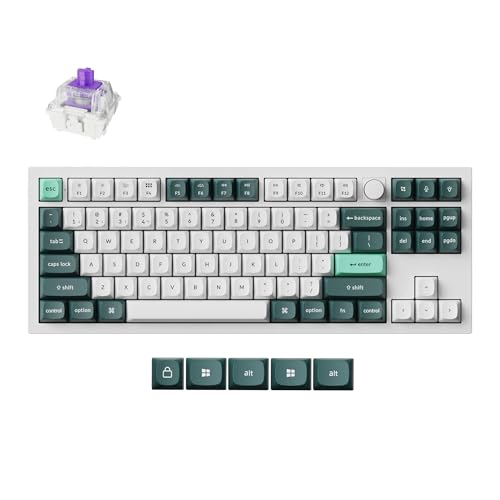
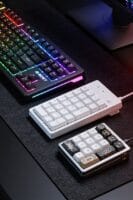
The Keychron Q3 HE is a TKL wireless custom keyboard featuring Hall Effect Gateron double-rail magnetic switches. Its all-aluminum body, double-gasket design, and multi-layer acoustic foams ensure a premium, smooth, and quiet typing experience.

Keychron Q6 Max - A full-metal QMK/VIA wireless customized mechanical keyboard with a 100% full-size layout and support for 2.4 GHz wireless, Bluetooth 5.1, and Type-C wired connectivity. The combination of reinforced multi-layer acoustic foam and double-gasket design provides an incredibly satisfying typing experience.
Clean Caps: Soak, Brush, and Spot‑Treat Stains
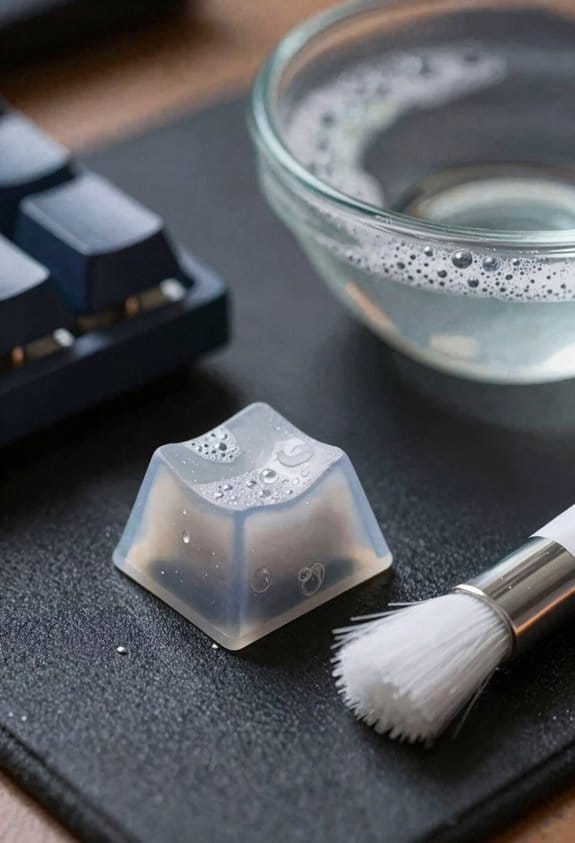
Ever wondered why a simple soak can make stubborn grime disappear without damaging delicate keycaps? I use a bowl of warm water at 38 °C with two drops of mild dish soap, then apply soaking techniques that keep the solution level just above the caps for 20 minutes, which loosens residue without warping plastic. After the soak, I grab a soft paintbrush—bristle length 2 mm, flexibility rating 0.3 N—and scrub each cap gently, focusing on the legends where ink builds up. For persistent discoloration I employ stain spot treatments: a cotton swab dipped in 90 % isopropyl alcohol, applied for three seconds, then wiped with a microfiber cloth. This combo removes oils and polymer stains while preserving keycap integrity.
Dry Caps Completely to Avoid Warping
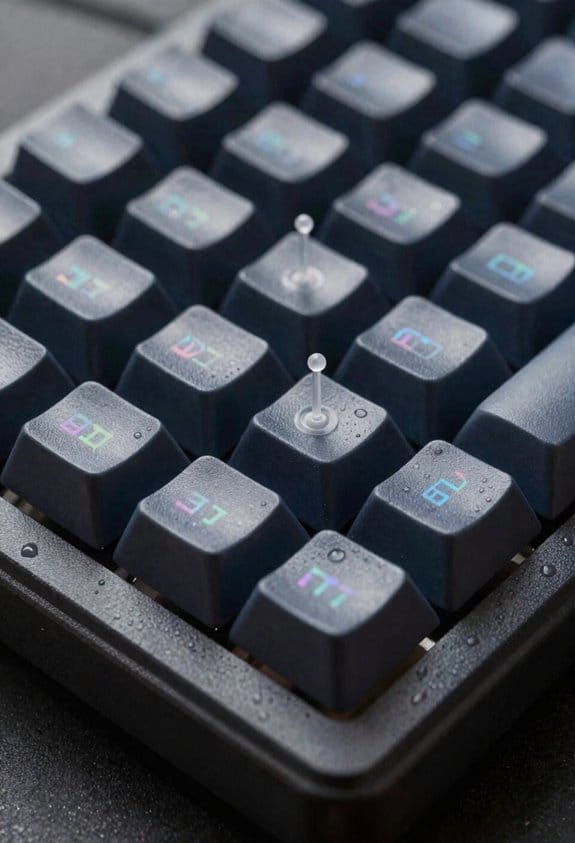
How long should you let keycaps dry before re‑installing them? I usually leave them on a lint‑free towel for at least six hours, keeping the letter side up to avoid warping, because moisture trapped inside the plastic can cause uneven expansion when the keyboard is powered on. To dry caps efficiently, I place them on a mesh drying rack that allows air circulation on all sides, and I never use a hair dryer or any heat source above 40 °C, as excess heat can melt the polymer. I also shake off excess water before drying and gently pat each keycap with a microfiber cloth to remove surface droplets. This method ensures the caps are completely dry and reduces the risk of warping, which could affect key feel and alignment.
Reattach Caps and Test the Keyboard
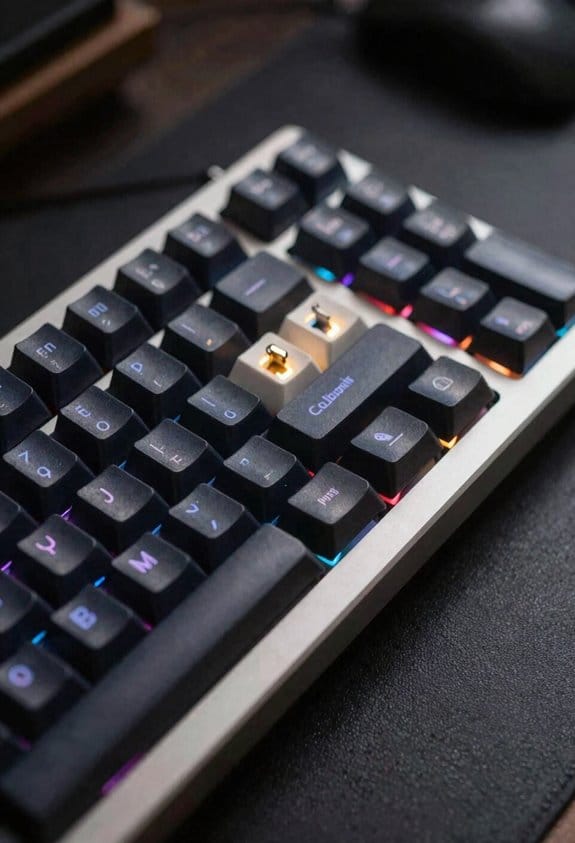
After the caps have been air‑dried for at least six hours, I line them up with the corresponding switches and press each one straight down until I hear a satisfying click, which indicates the built‑in plastic clip (the tiny hinge that holds the cap in place) has engaged fully; this works for both standard MX‑style switches—rated at 1.5 mm travel and 45 cN actuation force—and low‑profile scissor switches, which require a firmer press of about 60 cN because their stabilizer bars are shorter, so I make sure to apply even pressure across the entire key surface to avoid misalignment. I then double‑check that every key is firmly seated, especially larger keys with stabilizers, before plugging the keyboard back into the USB‑C port (5 V / 3 A, 15 W). Finally, I run a quick testing keyboard routine, pressing each key to confirm proper registration and listening for any missed clicks, ensuring the reattaching caps process succeeded without a single stuck or unresponsive key.

Recommended Products
![KeyMaster Electronics Learn to Type Keyboard; Typing Practice Show or Hide Keys; Blank Key Caps; Teach Students Touch Typing; Keyboarding Mechanical Training Tool; Better Than Covers or Skins [15]](https://m.media-amazon.com/images/I/41XuDqCHAKL._SL500_.jpg)
NO MORE LOOKING AT COMPUTER KEYS; on/off backlighting quickly shows or hides keyboard lettering leading to faster memorization of the keyboard and improved typing speed

[Touchscreen Gaming Mechanical Keyboard] Built with a 13-inch touchscreen monitor. It will help you fulfill an integrated keystroke and touchscreen experience that supports multiple-screen display work, keyboard input, HUB expansion, and M2 solid-state hard disk interface expansion. ( If it has a Full-Functional TYPE-C or HDMI port, it can achieve plug-and-play) Using hot-swap technology, a professional yellow axis switch will replace the DIY keycaps design. The keyboard screen has a 75°foldable angle function.

Designed with Pros, Engineered to Win: PRO X TKL gaming keyboard is the next gen of the trusted tenkeyless PRO keyboard; it's been refined to eliminate every barrier between you and the win
Frequently Asked Questions
Can I Clean Keycaps With a Dishwasher?
I wouldn’t risk dishwasher safety for keycaps; most keycap materials—ABS, PBT, or plastic—can warp or degrade, so I’d stick to hand‑soaking and gentle brushing instead.
Will Silicone Grease Affect Keycap Texture?
I’ve found that silicone grease will soften delicate textures, making keys feel mushy; unlike a thin silicone comparison, it leaves a lingering residue that can alter the smoothness and tactile feedback you expect.
Is It Safe to Use Bleach on Plastic Keycaps?
Honestly, I’d say bleach’s a risky choice—think of it as a chemical firecracker. Stick to safe chemicals like isopropyl alcohol and mild dish soap; those cleaning methods protect plastic caps without warping.
How Often Should I Replace Worn Keycaps?
I replace my worn keycaps whenever I notice a noticeable wear comparison, usually every six to twelve months, because delicate maintenance keeps the feel consistent and prevents uneven typing.
Can I Reuse the Cleaning Solution for Multiple Keyboards?
I’ll say yes—reusing cleaning solution works, just filter it first. Have you considered dishwasher usage? It’s safe for metal pullers, but avoid soaking electronics; keep the solution mild and change it when it turns cloudy.