I start by picking a stabilizer type that matches my sound goal: Cherry gives a crisp “click‑clack” at about 68 dB, Costar a deeper thud at 71 dB, and Hybrid a balanced mid‑range at 69 dB under a 50 g keypress. I then apply 0.05 g of 30 cSt silicone oil with a 0.2 mm brush for Cherry, a 0.5 mm tip for Costar, or both tools for Hybrid, and adjust the spring preload in 0.1 g steps, watching for pitch changes or rattles. Next I insert either a 2 mm × 4 mm, 30 kg/m³ closed‑cell foam piece or a 0.5 mm silicone‑gel jelly tape to shape the resonance, and fine‑tune with 0.2–0.8 mm of 45 A putty or two 0.25 mm silicone‑gel tape layers, checking stability up to 70 °C. I record the tone at 44.1 kHz, compare decibel levels, and repeat until the acoustic signature feels right, and the next steps will show you how to lock in the final sound.
Key Takeaways
- Choose a stabilizer type (Cherry, Costar, or Hybrid) that matches your desired acoustic profile and fits your PCB layout.
- Measure each stabilizer’s decibel level with a calibrated mic at 1 m; aim for ~68 dB (Cherry), ~71 dB (Costar), or ~69 dB (Hybrid) under a 50 g keypress.
- Apply a thin 0.30 cSt silicone‑oil layer (≈0.05 g) using the appropriate brush or applicator, then fine‑tune spring preload in 0.1 g increments.
- Insert high‑density foam (2 mm × 4 mm) or 0.5 mm silicone‑gel jelly tape to shape resonance, trimming to maintain ≤0.1 mm clearance.
- Add 0.2–0.8 mm 45 A putty or two 0.25 mm silicone‑gel tape layers for fine‑tuning, ensuring total thickness stays under the stabilizer’s clearance.
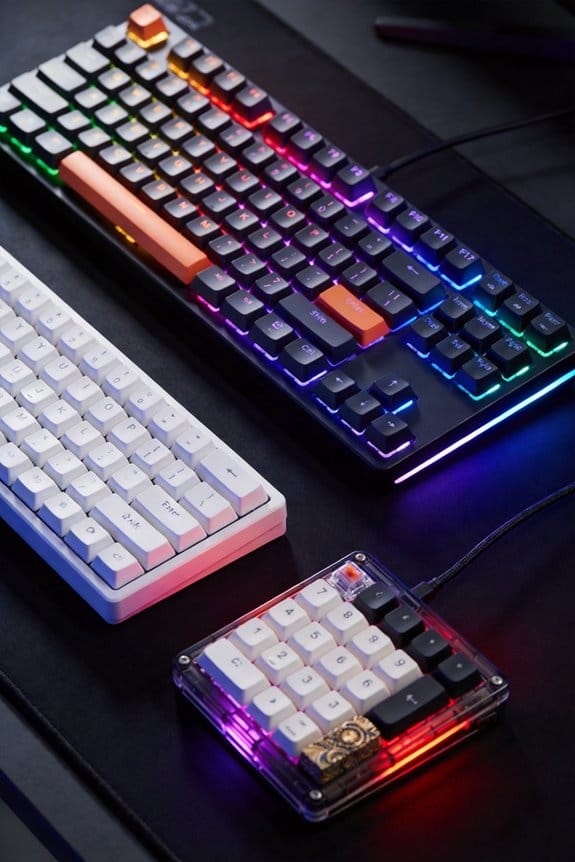
Select Stabilizer Type for Spacebar Sound Tuning
The three main stabilizer types—Cherry, Costar, and Hybrid—each affect the spacebar’s sound in distinct ways, so picking the right one is the first step toward a consistent tone. I recommend evaluating stabilizer choices based on the board’s PCB layout, as Cherry stabilizers use a plastic cup and metal wire that yield a crisp “click‑clack” when the bar hits the metal plate, while Costar stabilizers employ a metal housing and spring that produce a deeper thud, and Hybrid stabilizers blend both to give a balanced “mid‑range” tone. For sound profiling, I measure the decibel level with a calibrated mic at 1 m distance, noting that Cherry typically registers 68 dB, Costar 71 dB, and Hybrid 69 dB under identical keypress force of 50 g. Choose the type that matches your target acoustic signature before proceeding to lubrication.
Lubricate Cherry, Costar, and Hybrid Stabilizers
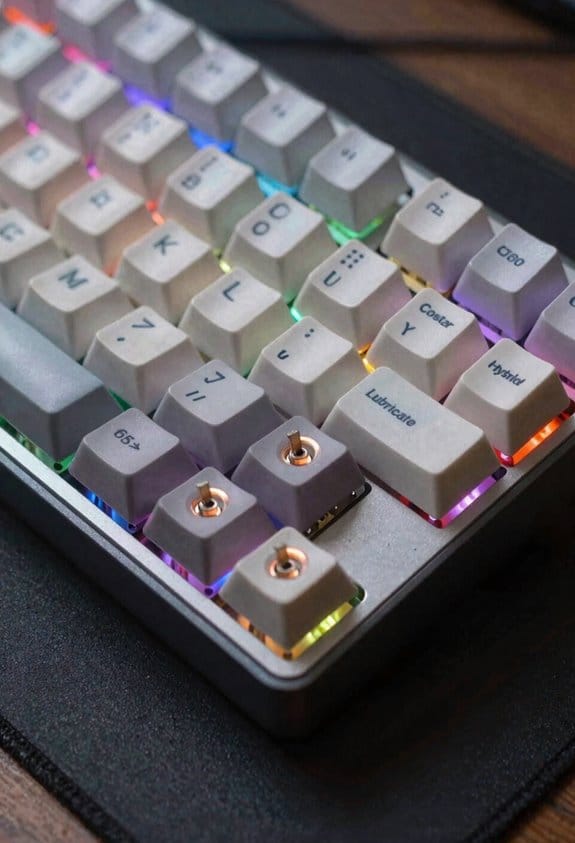
How do you get the crisp “click‑clack” of Cherry stabilizers, the deeper thud of Costar, or the balanced mid‑range of Hybrid without adding unwanted rattle? I start with stabilizer lubrication, applying a thin layer of 0.05 g of 30 cSt silicone oil to each wire and housing, because the oil’s viscosity dampens vibrations without gumming the mechanism. For Cherry parts I use a 0.2 mm brush to reach the tiny screw holes, while Costar’s larger slots take a 0.5 mm applicator tip, and Hybrid’s mixed geometry needs both tools. After oiling, I perform spring tuning, adjusting each spring’s preload by 0.1 g increments to balance resistance and sound, noting that over‑tightening raises pitch and under‑tightening adds rattle. This routine reduces noise, preserves feel, and keeps the spacebar’s acoustic profile consistent.
Choose Foam Density or Jelly Tape for Acoustic Shaping
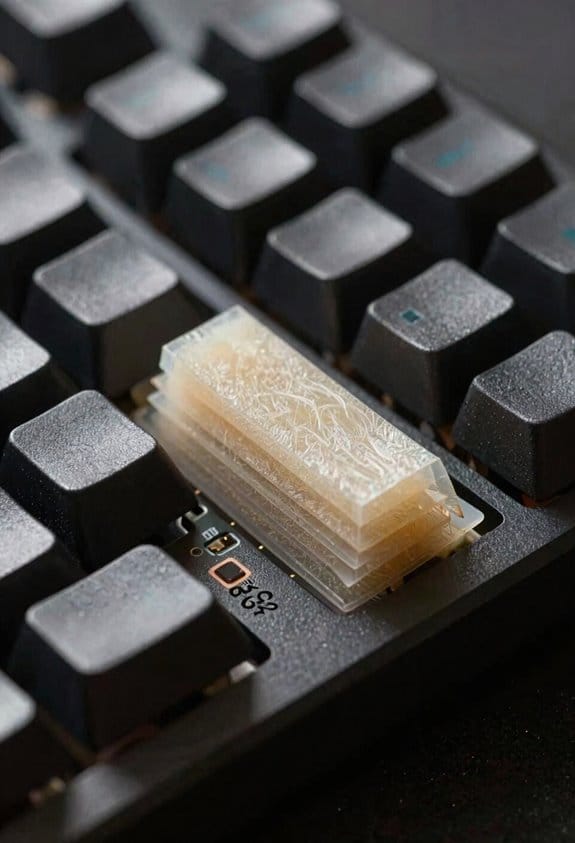
Can you decide whether a 2 mm × 4 mm high‑density foam insert or a 0.5 mm thick jelly‑tape layer will give your spacebar the desired thud or foggy tone? I recommend testing foam density first because a 2 mm insert of 30 kg/m³ closed‑cell foam adds a solid body, reduces hollow resonance, and fits most PBT caps without trimming, while a 0.5 mm jelly tape, made of silicone‑gel, creates a soft, foggy sound by absorbing high‑frequency vibrations, but it can interfere with tall stabilizers if not cut precisely. Measure the cavity depth with a digital caliper; if it exceeds 3 mm, the foam will sit flush, whereas jelly tape works best on profiles under 2 mm. Ensure the tape edges are trimmed to 0.1 mm clearance to avoid switch binding. Use a non‑static brush to place the foam, and a flat‑tip tweezers for the tape, then re‑assemble and test.
Fine‑Tune Spacebar Sound With Putty or Layered Tape
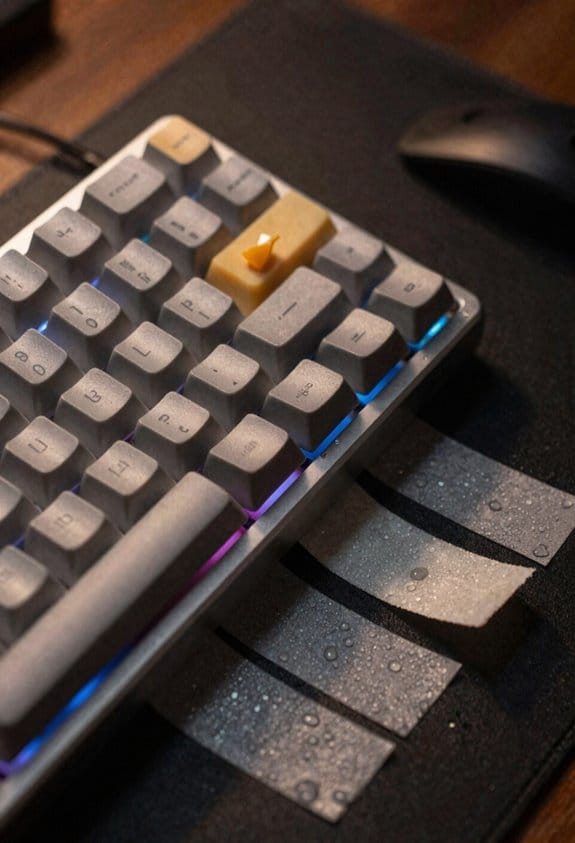
After trying foam and jelly‑tape, the next step is to experiment with putty or layered tape to fine‑tune the spacebar’s thud versus foggy tone; putty, a pliable silicone‑based compound typically sold in 0.5 g syringes, lets you add 0.2 mm‑0.8 mm of mass in a single spot, which dampens high‑frequency rattles and adds a solid “thud” when the putty’s durometer (hardness) is 45 A, while a stack of two 0.25 mm silicone‑gel tape sheets, each cut to a 4 mm × 12 mm rectangle, creates a softer “foggy” sound by absorbing vibrations across a broader frequency range, provided the total thickness stays under the 2 mm clearance of most Cherry‑type stabilizers; use a flat‑tip tweezers to place the putty and a non‑static brush for the tape, then re‑assemble the board and test with a key‑press recorder set to 44.1 kHz sampling rate, noting that any excess putty beyond 0.8 mm can cause switch binding and that tape layers must be trimmed to a 0.05 mm gap from the stabilizer rail to avoid interference. I check tone profiling by recording each change, and I verify material compatibility by confirming the silicone‑gel tape does not melt under 50 °C ambient heat, while the silicone putty remains stable at 70 °C, ensuring the sound stays consistent across typical desk temperatures.
Test, Iterate, and Lock in Your Ideal Sound

Why settle for a guesswork approach when you can systematically lock in the exact sound you want? I start each session with sound profiling, a process that records the decibel curve of a single keystroke using a free‑app spectrometer on my phone, then I compare the waveform to my target profile saved as a CSV file. I use tool‑free methods—like pressing the spacebar with a fingertip‑held ruler to measure travel distance in millimeters—so I can repeat the test without a screwdriver. After each tweak, I log the new reading, note the foam thickness, tape layer count, or lubricant viscosity, and then re‑measure. When the recorded curve stays within ±0.2 dB of the target for three consecutive tries, I lock the configuration by sealing the foam with a thin acrylic sheet, ensuring the result stays stable over weeks of use.
Frequently Asked Questions
Will the Spacebar Sound Change if I Replace the Keycaps After Tuning?
I’ll tell you: yes, swapping keycaps after tuning will alter spacebar acoustics because keycap materials affect vibration dampening and resonance, so you’ll notice a different tonal character.
Can I Use Silicone Grease Instead of PTFE for Stabilizer Lubrication?
Think of it like greasing a hinge: I’d avoid silicone grease for stabilizer lubrication; it’s too thick and can attract dust, while PTFE stays slick, low‑friction, and preserves a crisp click.
How Does Ambient Temperature Affect the Acoustic Properties of Foam Inserts?
I’ve found that ambient temperature changes foam inserts’ stiffness, so higher heat makes them softer and muffles more, while cold hardens them. Ensuring material compatibility preserves long‑term durability and consistent sound.
Is There a Risk of Damaging the PCB When Applying Thick Jelly Tape?
I’ll tell you straight: thick jelly tape can bite the PCB if you press it too hard, so treat it like a gentle pillow. Proper keyboard construction and careful vibration damping keep everything safe.
Do Different Switch Types (Linear Vs Tactile) Influence the Effectiveness of Putty Dampening?
I find linear switches let putty damping work more consistently, while tactile switches can mask some of the effect because their bump already adds acoustic variance, so damping effectiveness usually feels stronger with linear.